Garage HVAC Split Installation
We recently took on a project to transform our garage into a fully climate-controlled space—perfect for woodworking, DIY, and year-round comfort. To do it right, we installed a high-efficiency Mr. Cool DIY mini-split HVAC system. This not only keeps the space cool in the summer and warm in the winter, but also adds serious functionality to our home workshop setup.
Step-by-Step Installation Process:
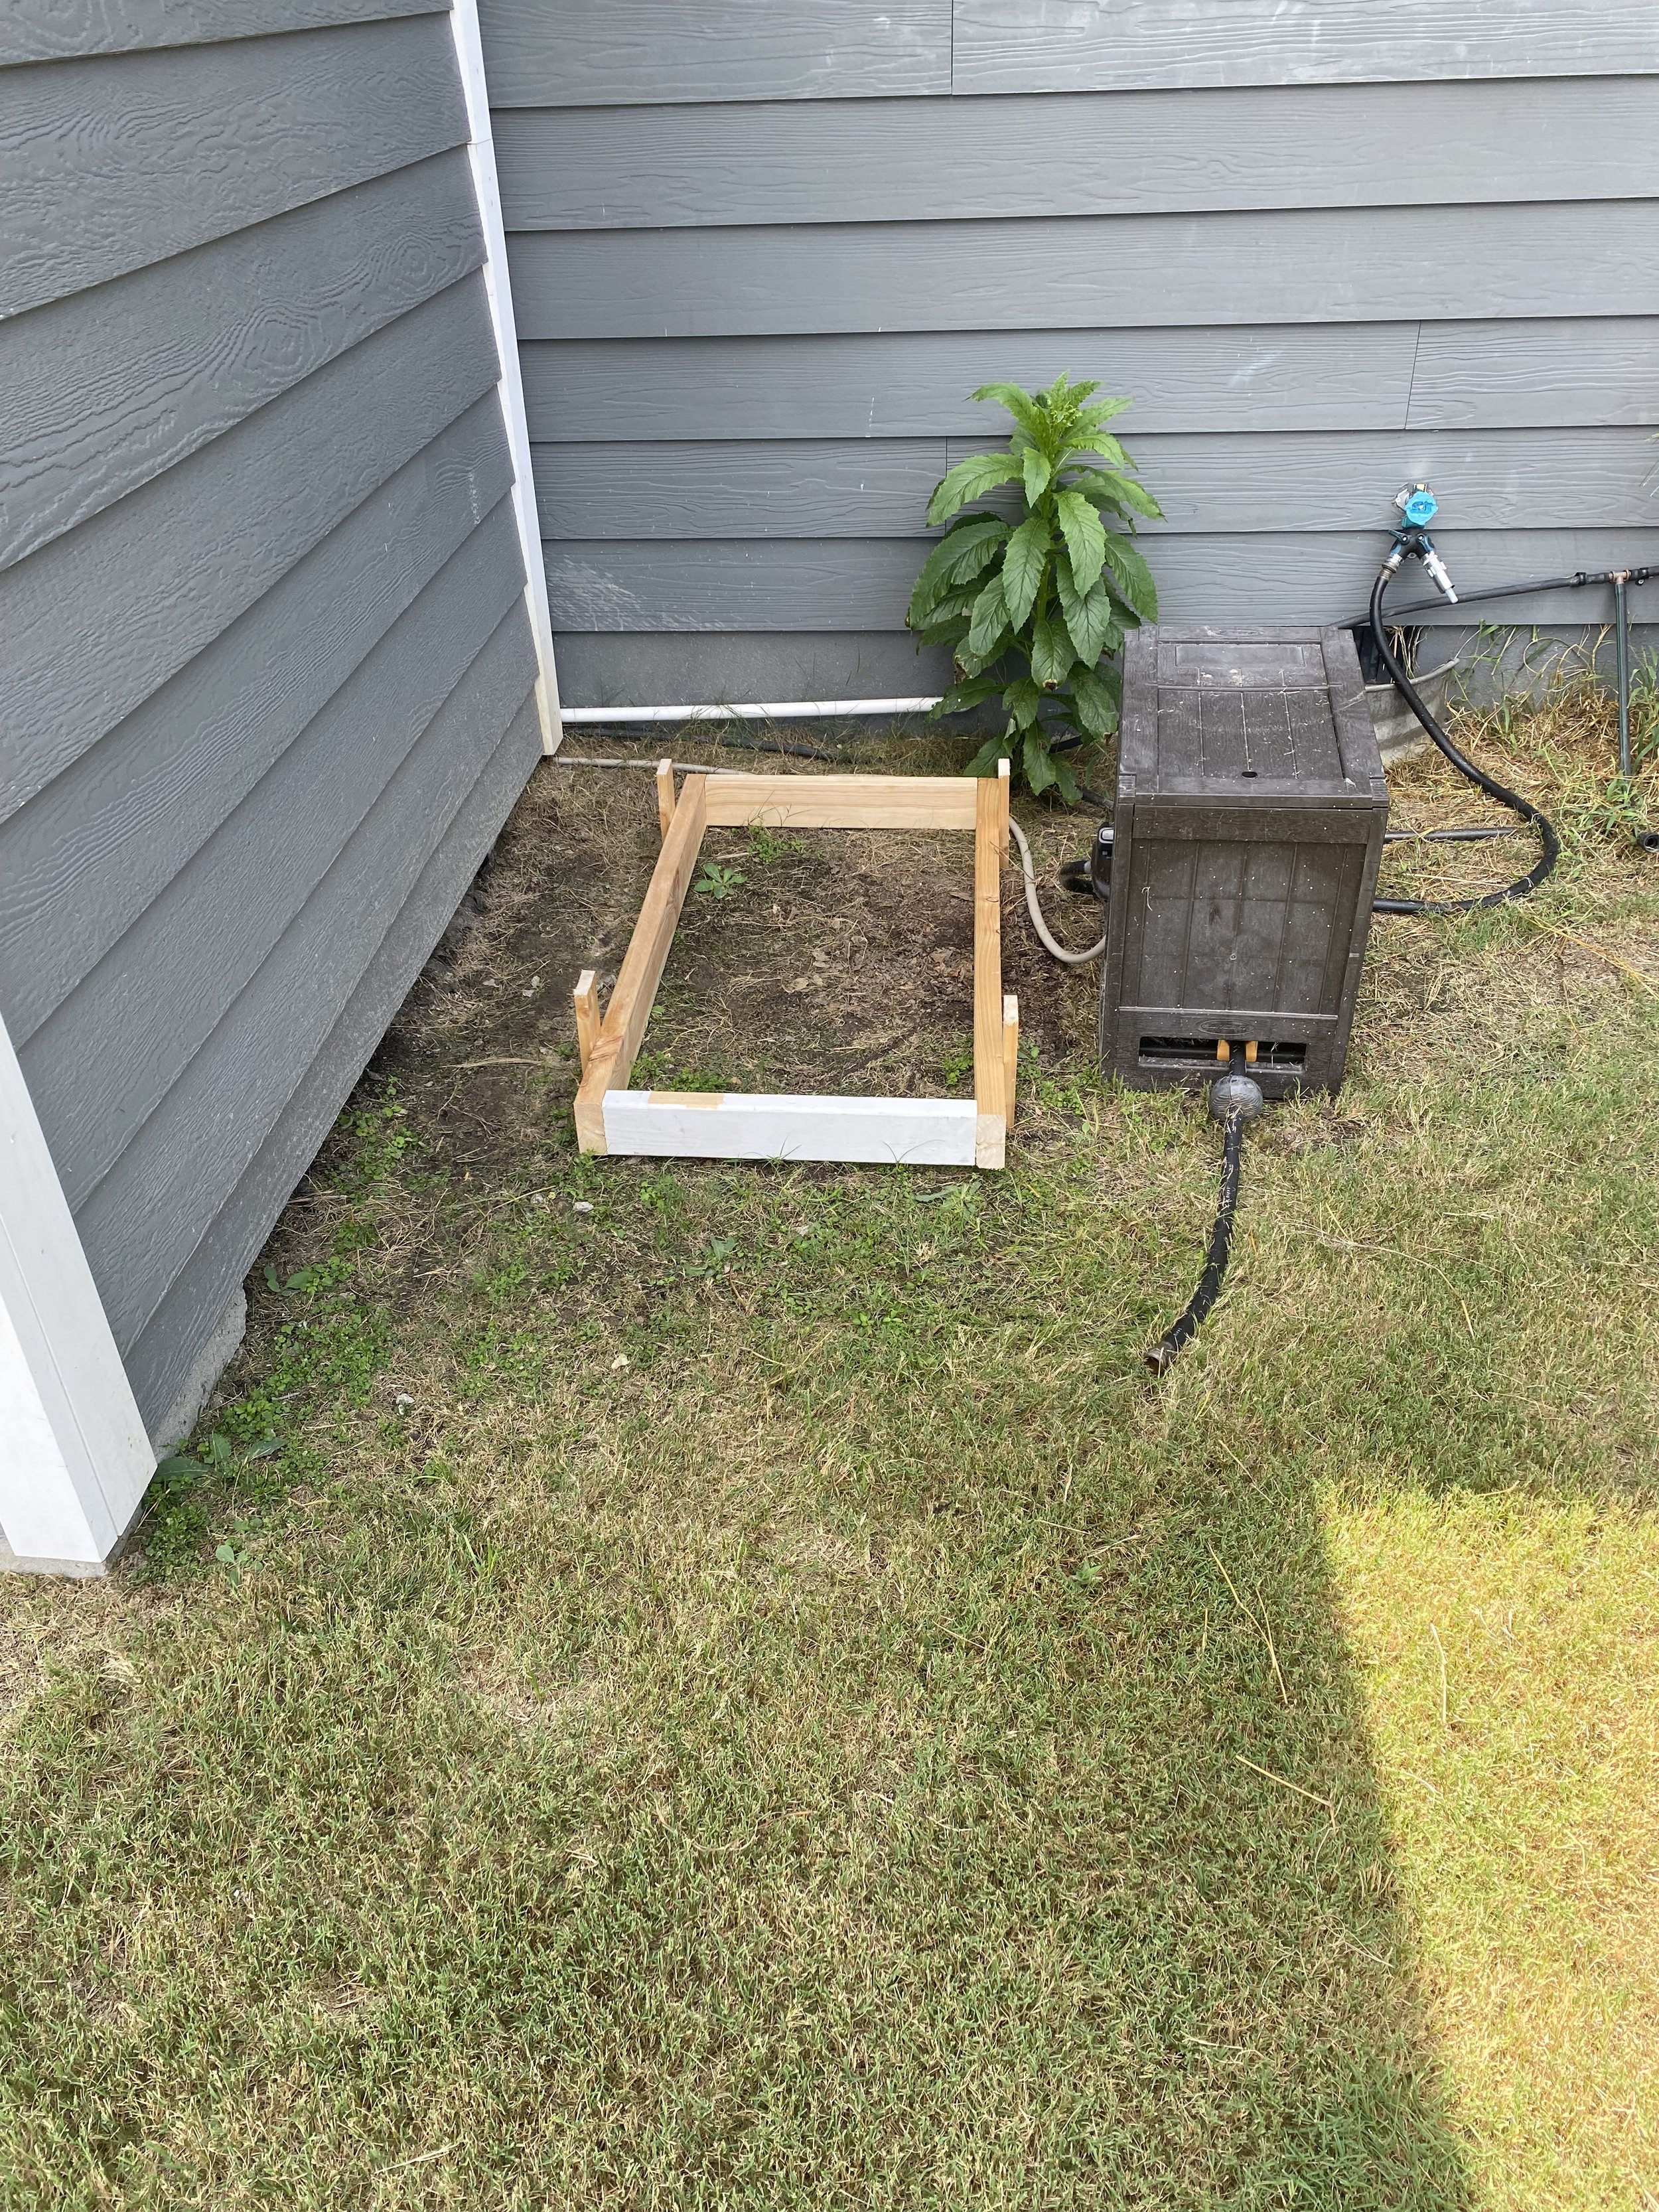
1. Site Prep & Foundation
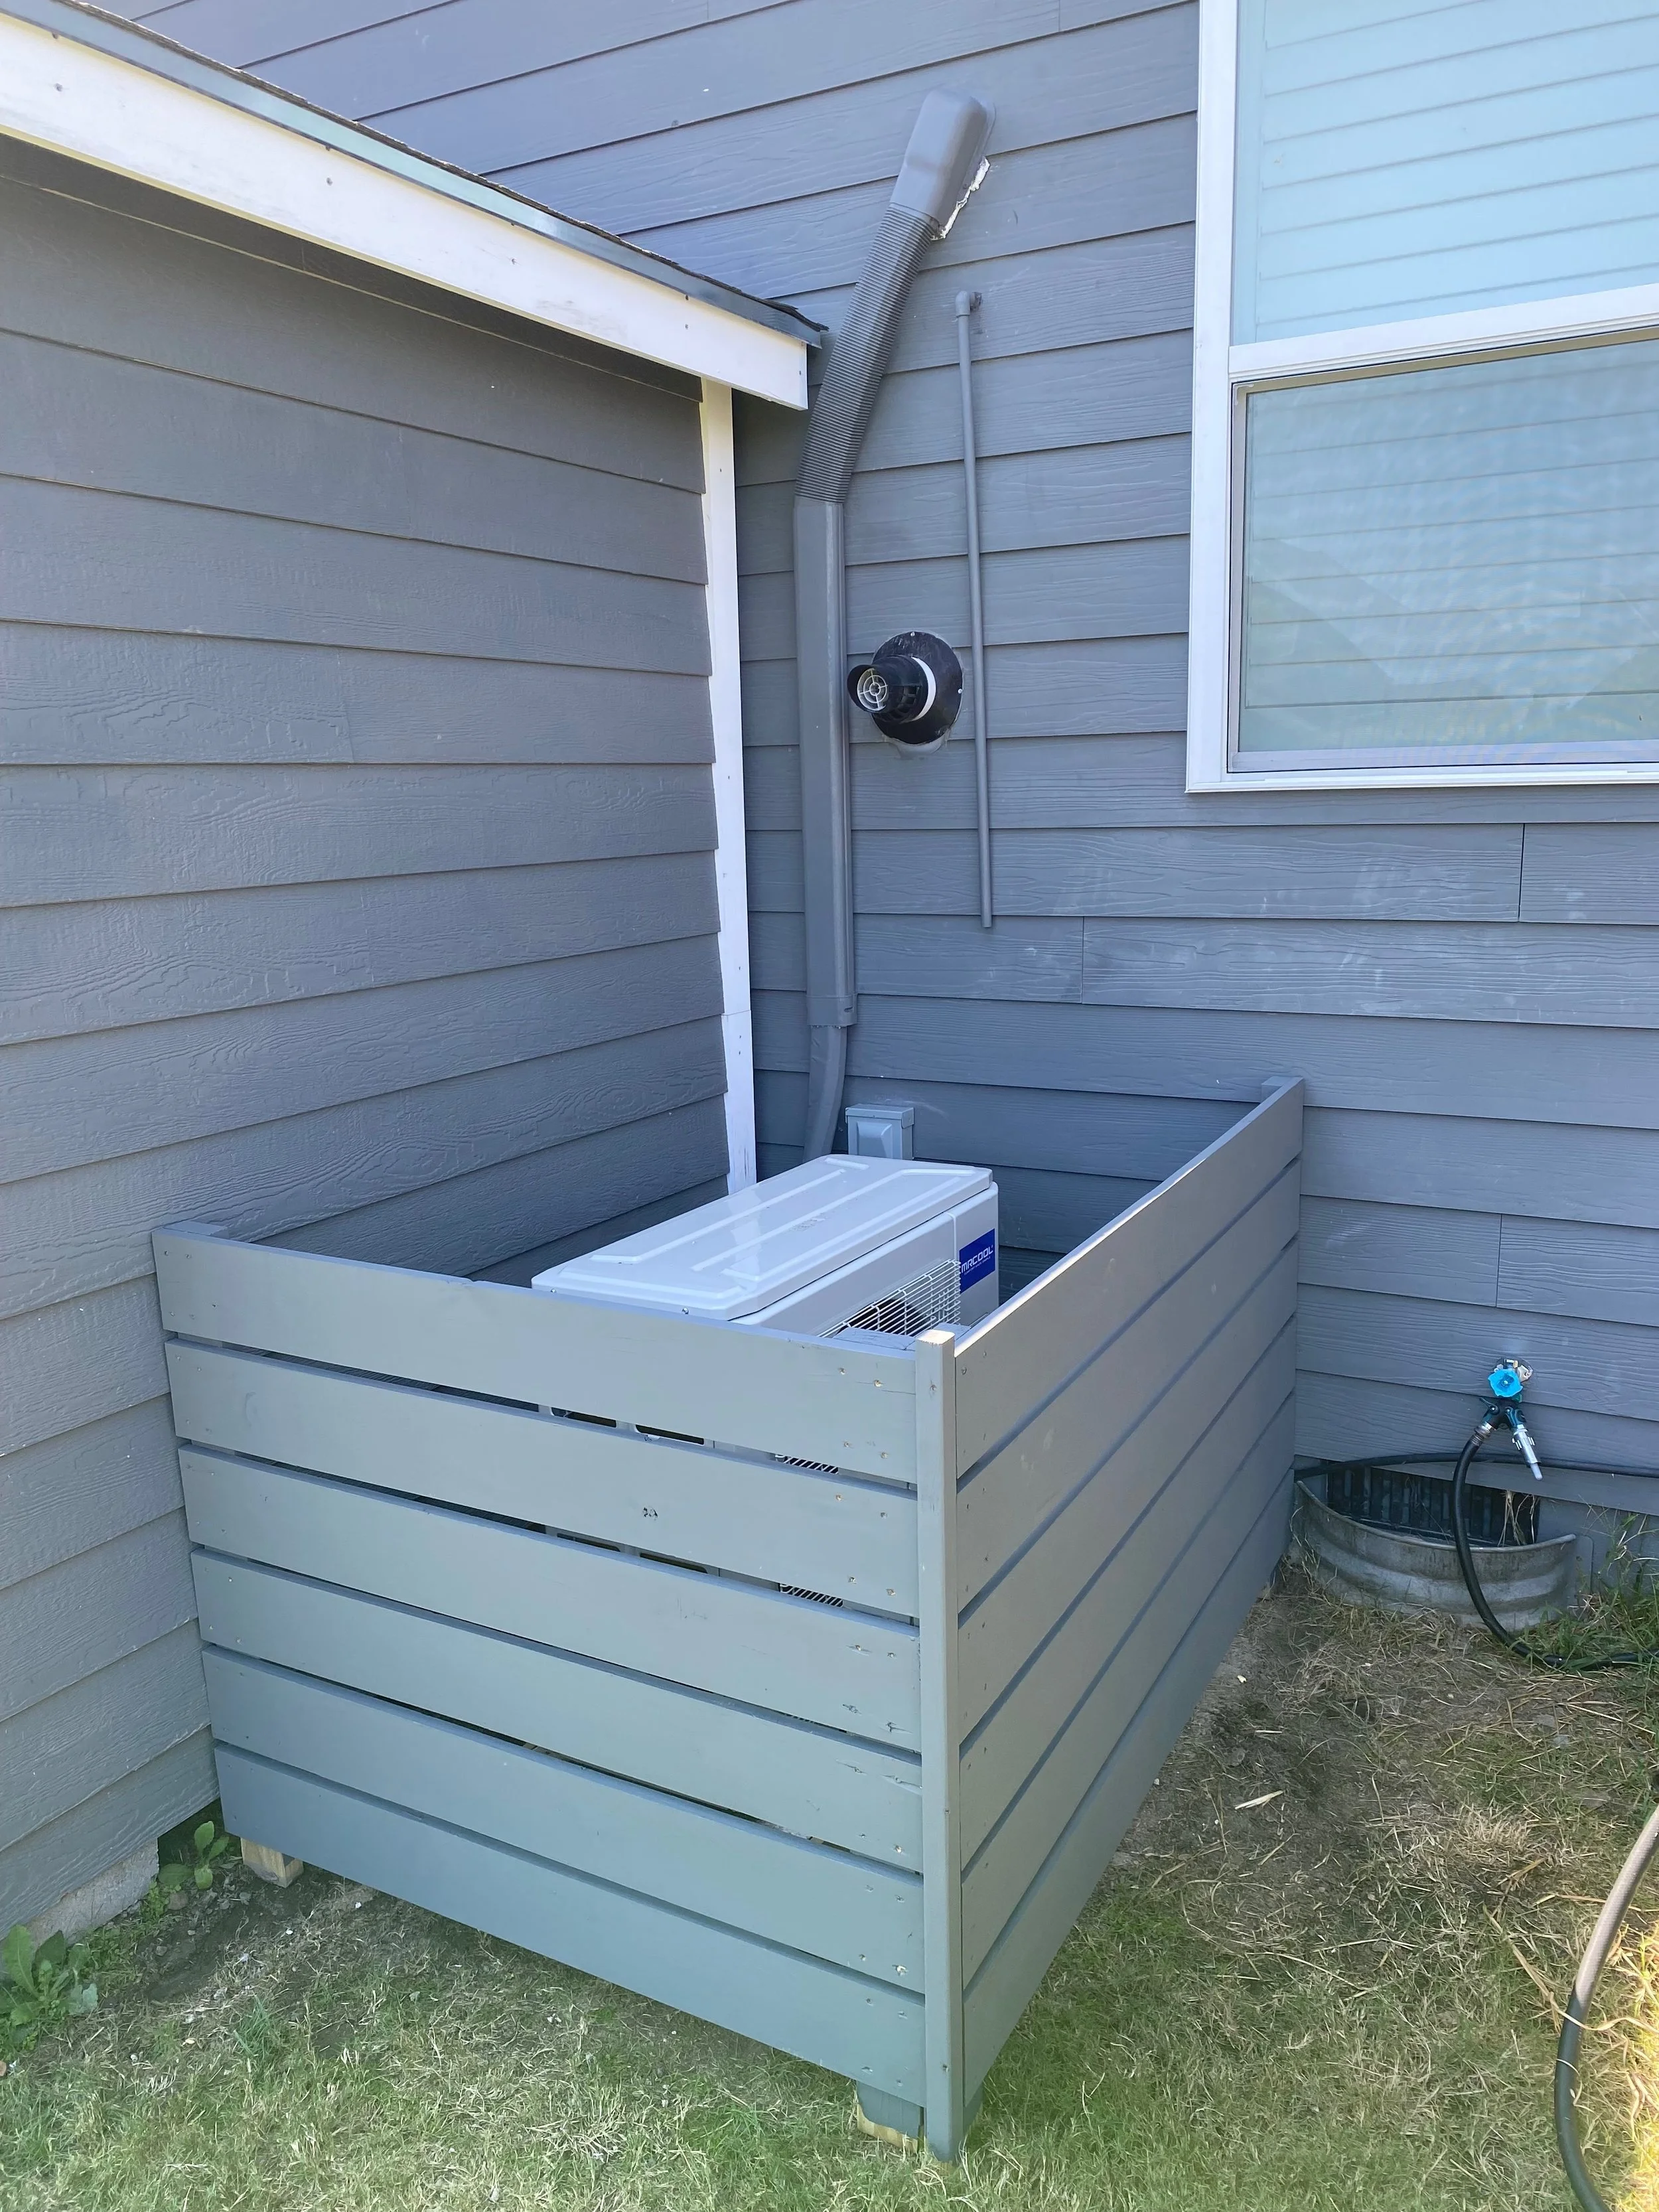
We started by building a concrete pad to support the exterior condenser unit. Proper leveling and drainage were key to ensuring long-term performance and durability.
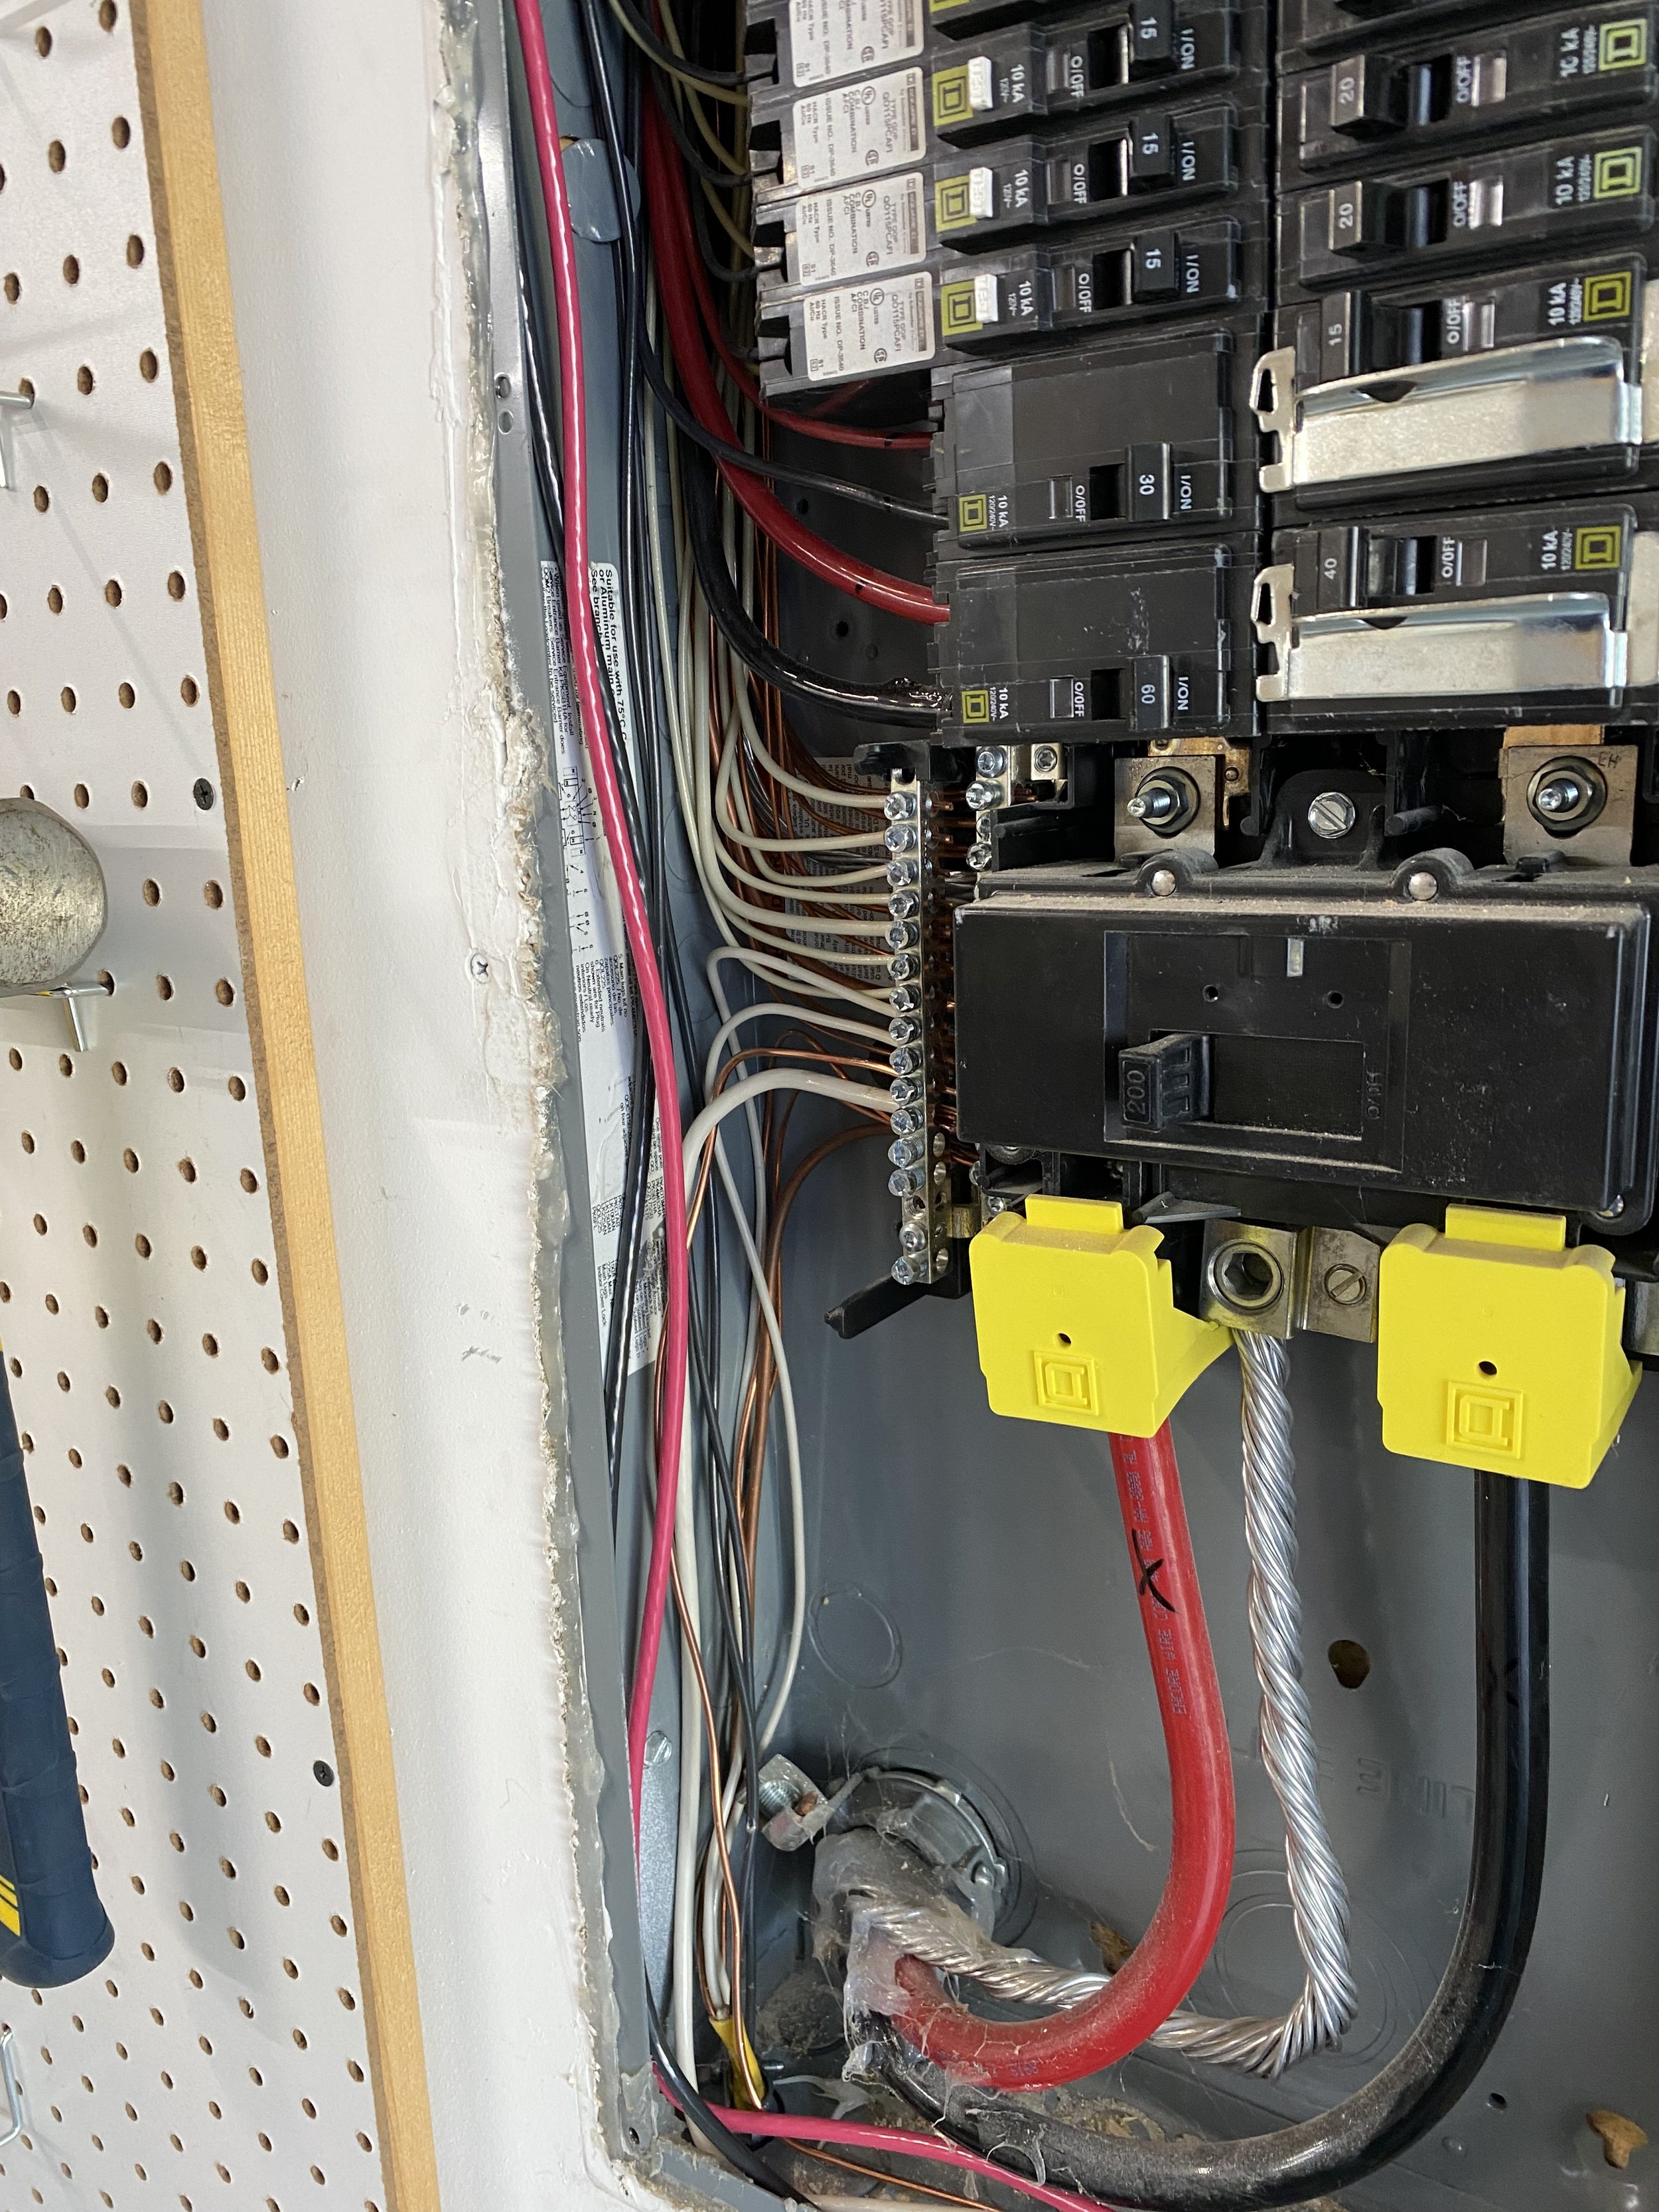
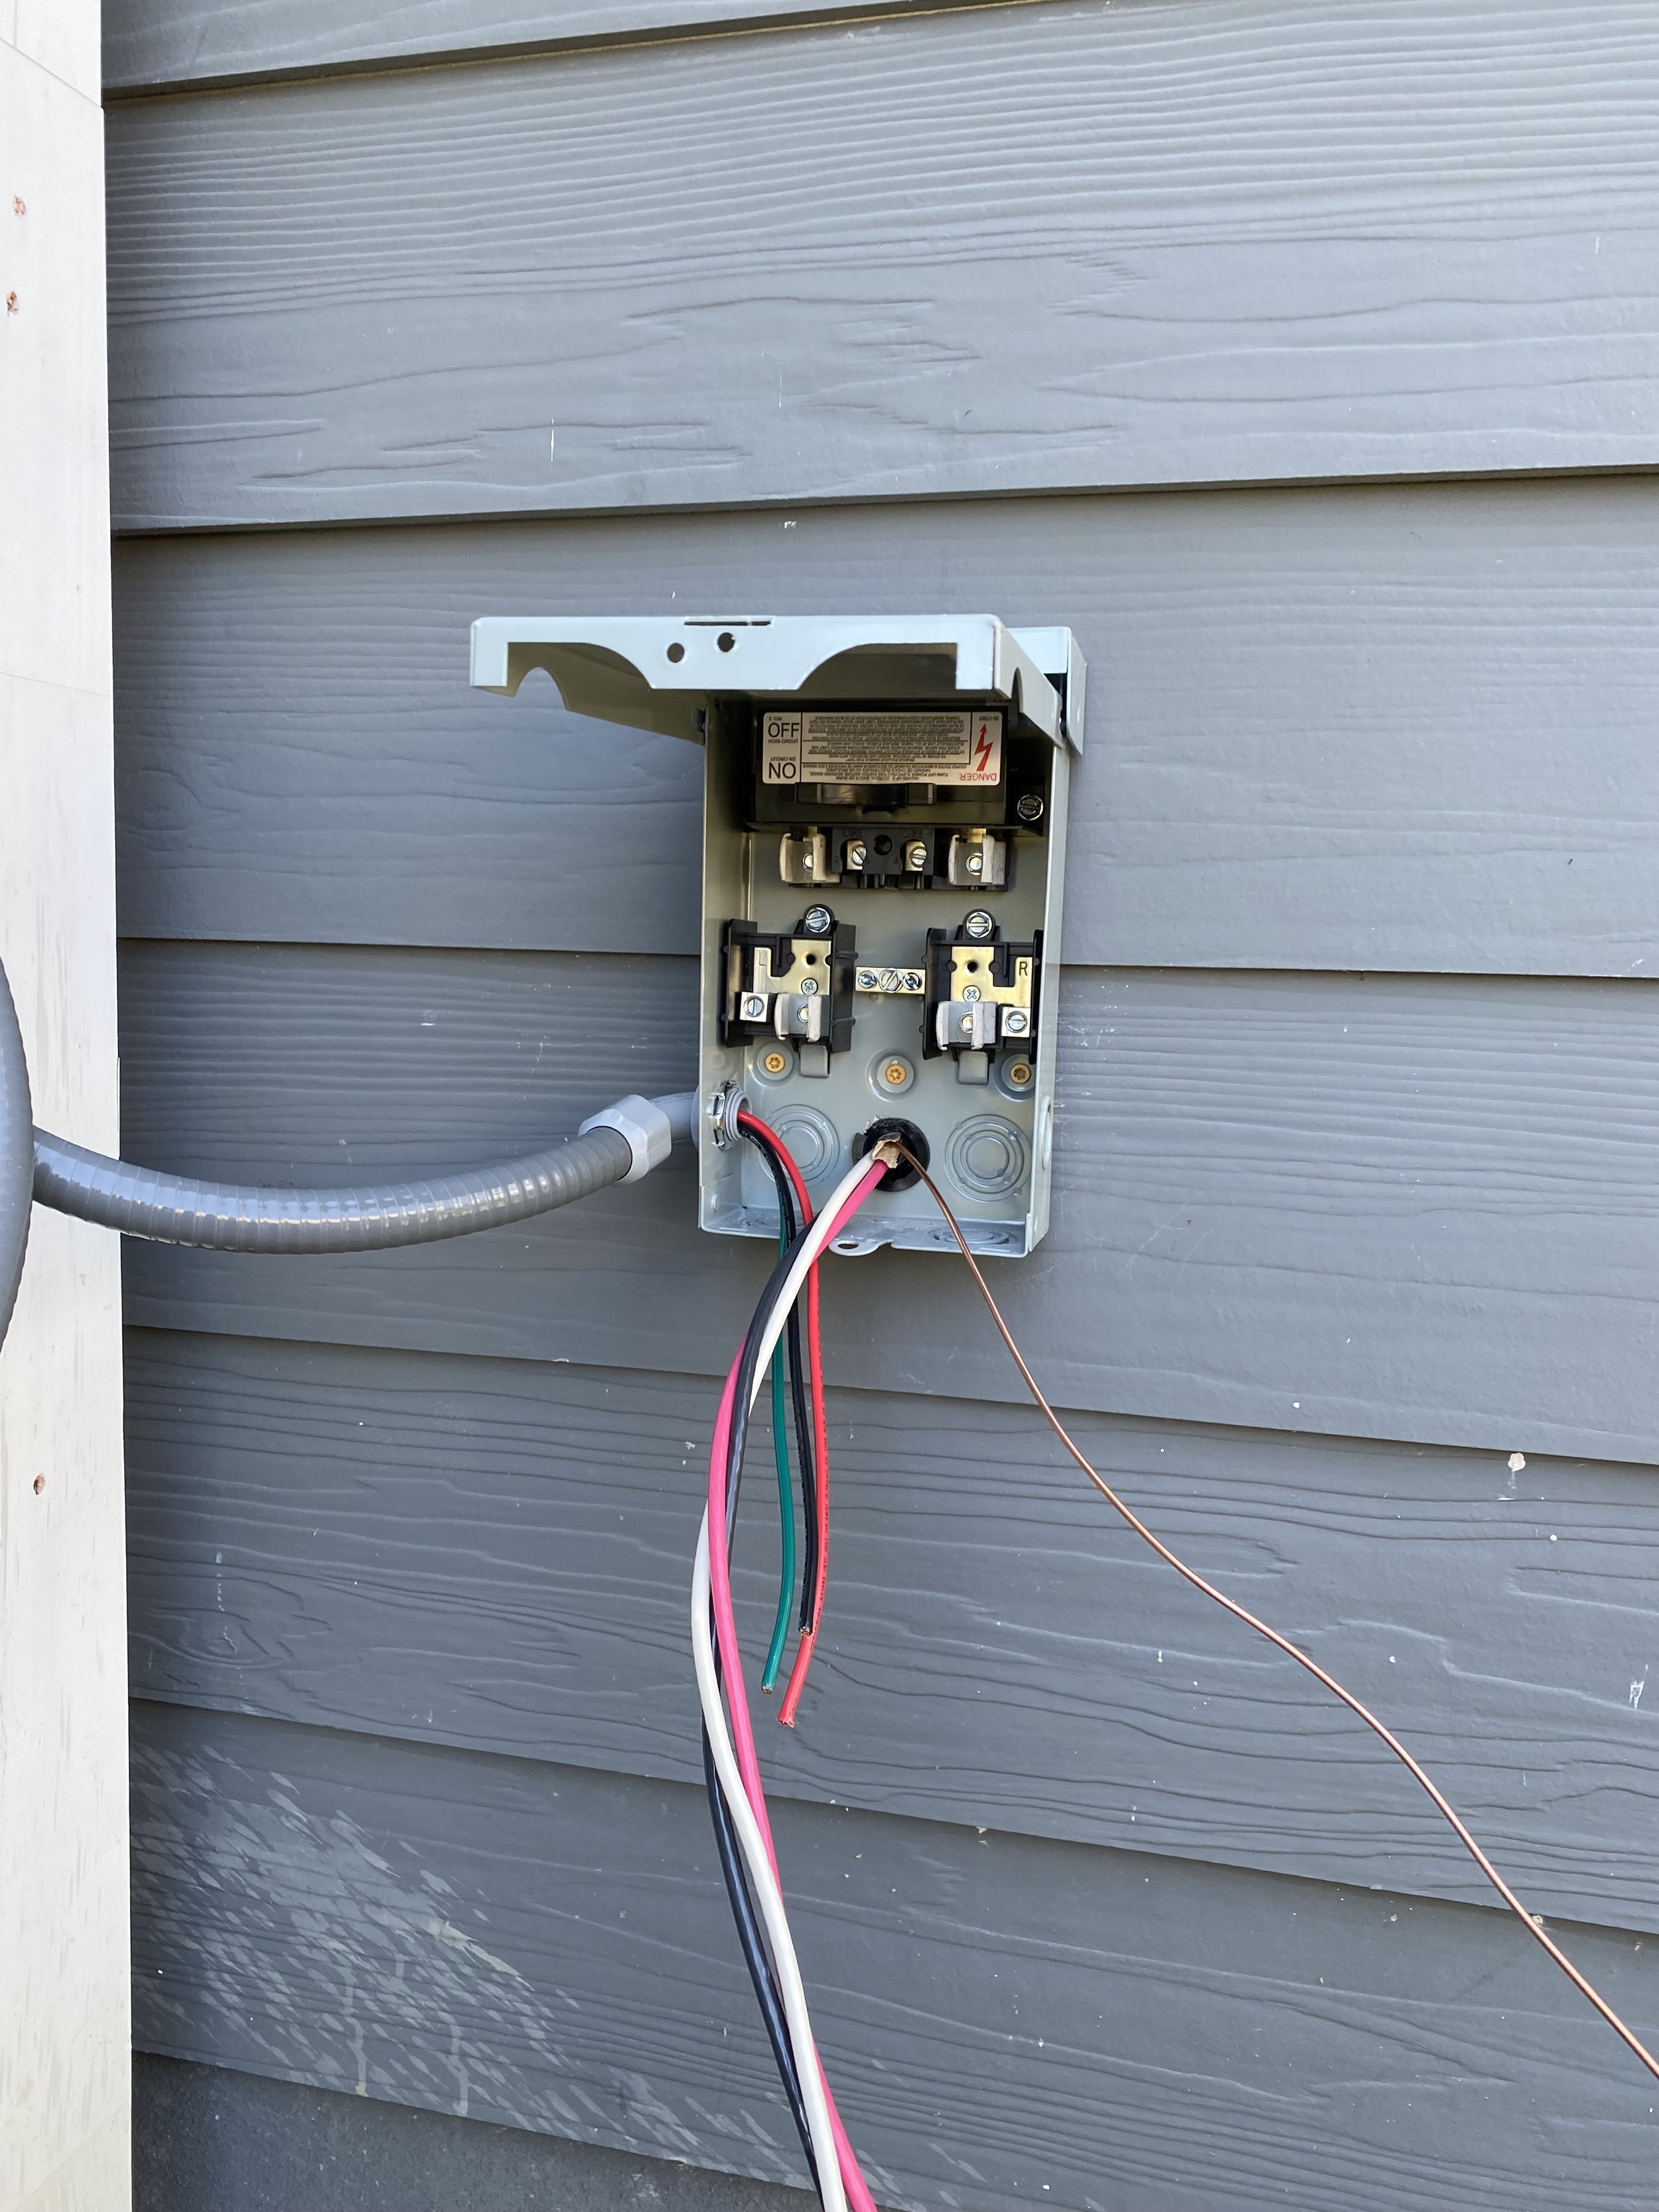
2. Electrical Setup
Next came the dedicated electrical disconnect box and wiring. We ran new 240V service from the main panel and mounted everything with clean, secure conduit for safety and a professional finish.
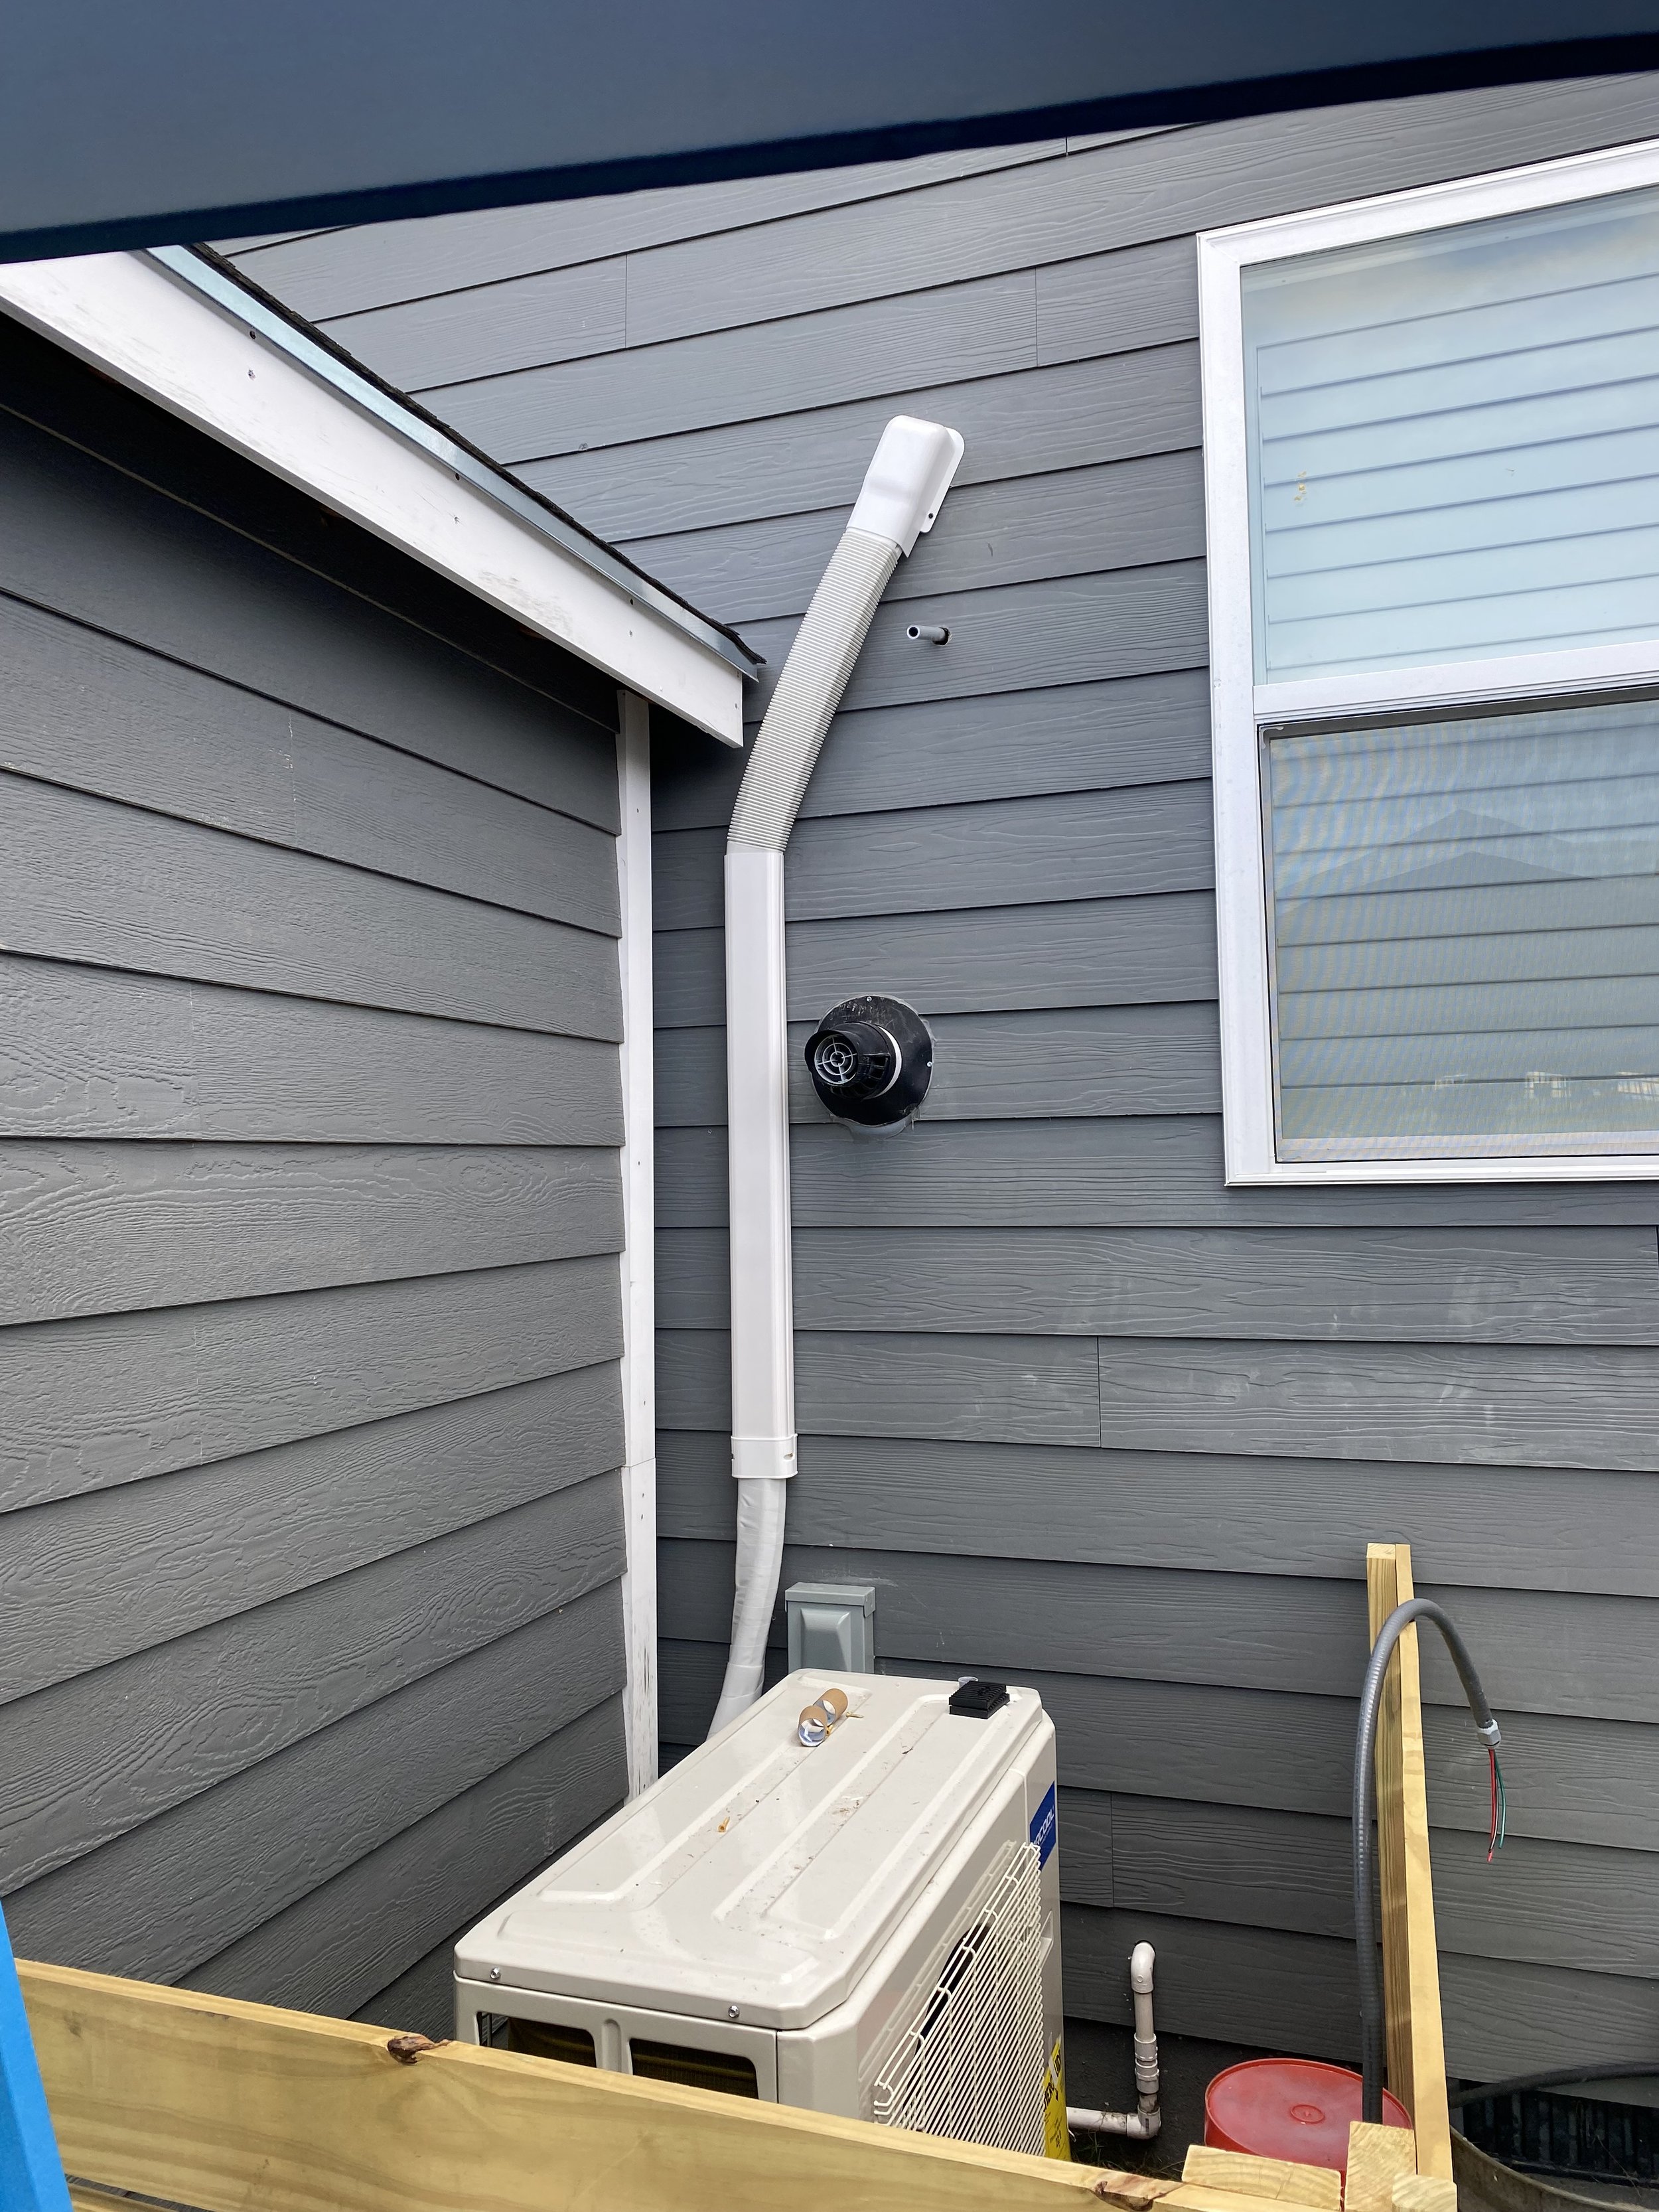
3. Line Set Routing & Wall Penetration
We carefully drilled through the garage wall and installed the insulated refrigerant lines, drain hose, and electrical harness. The line set was routed through protective raceways to keep the installation both neat and weather-resistant.
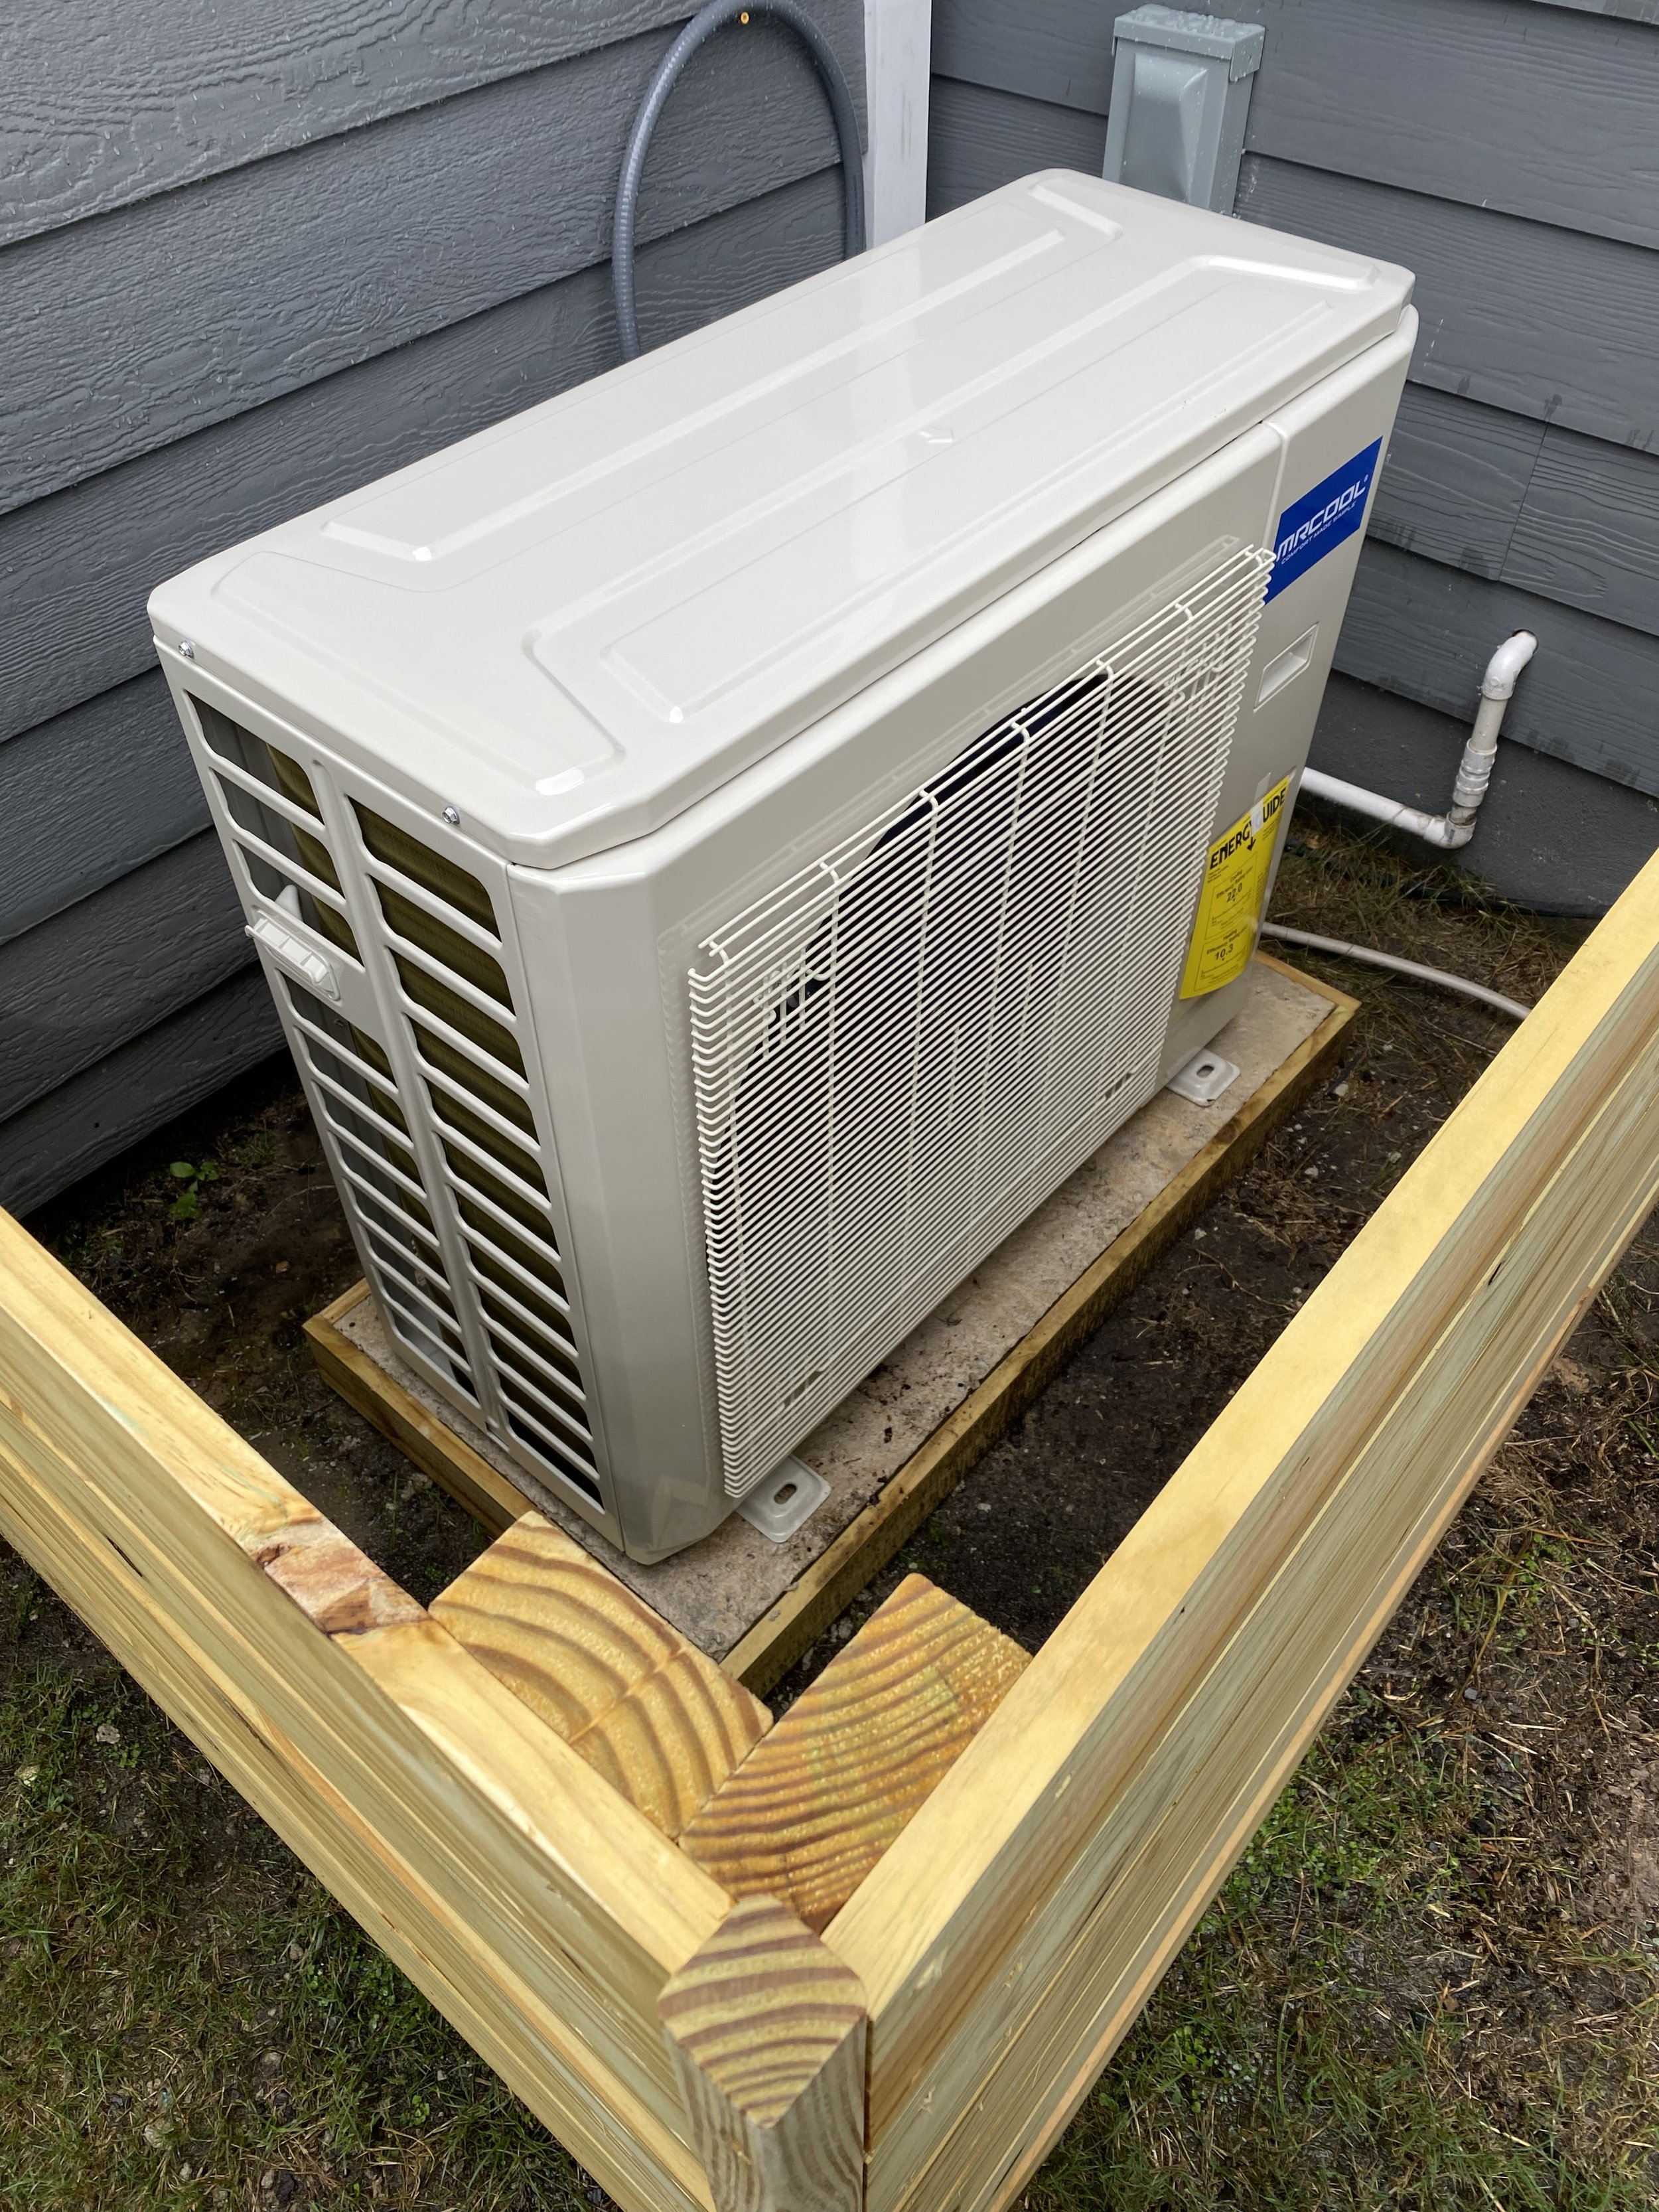
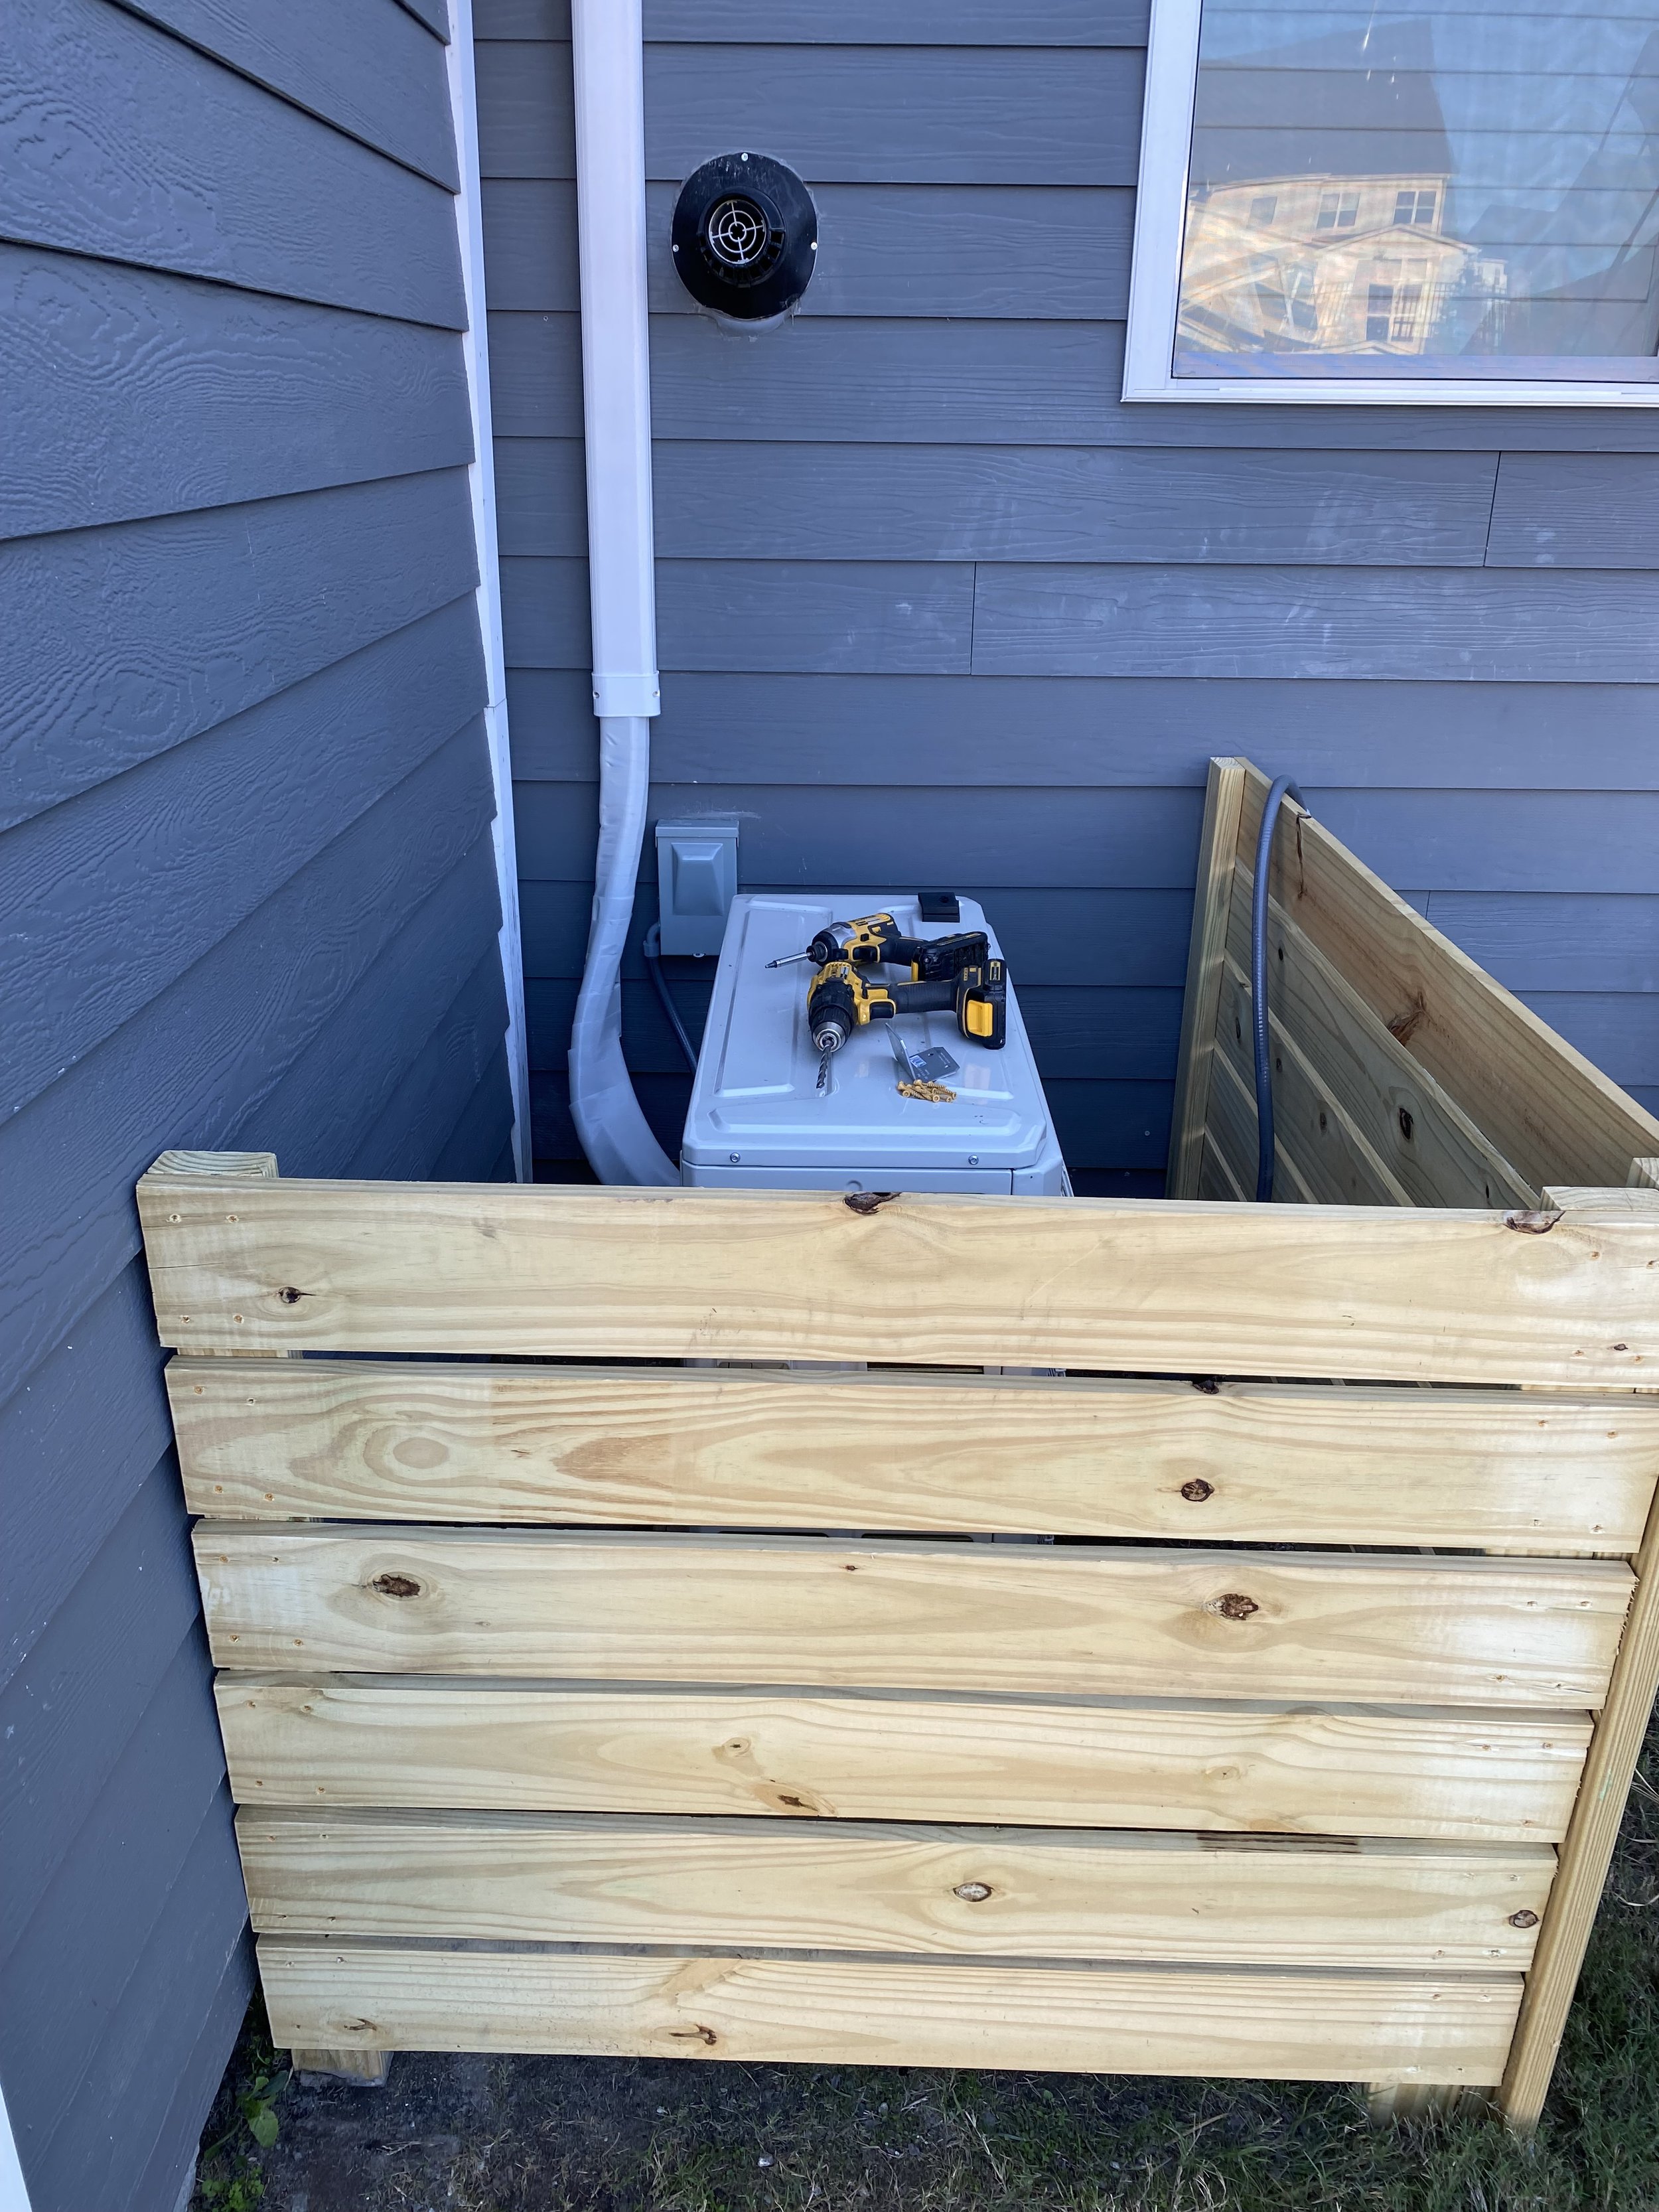
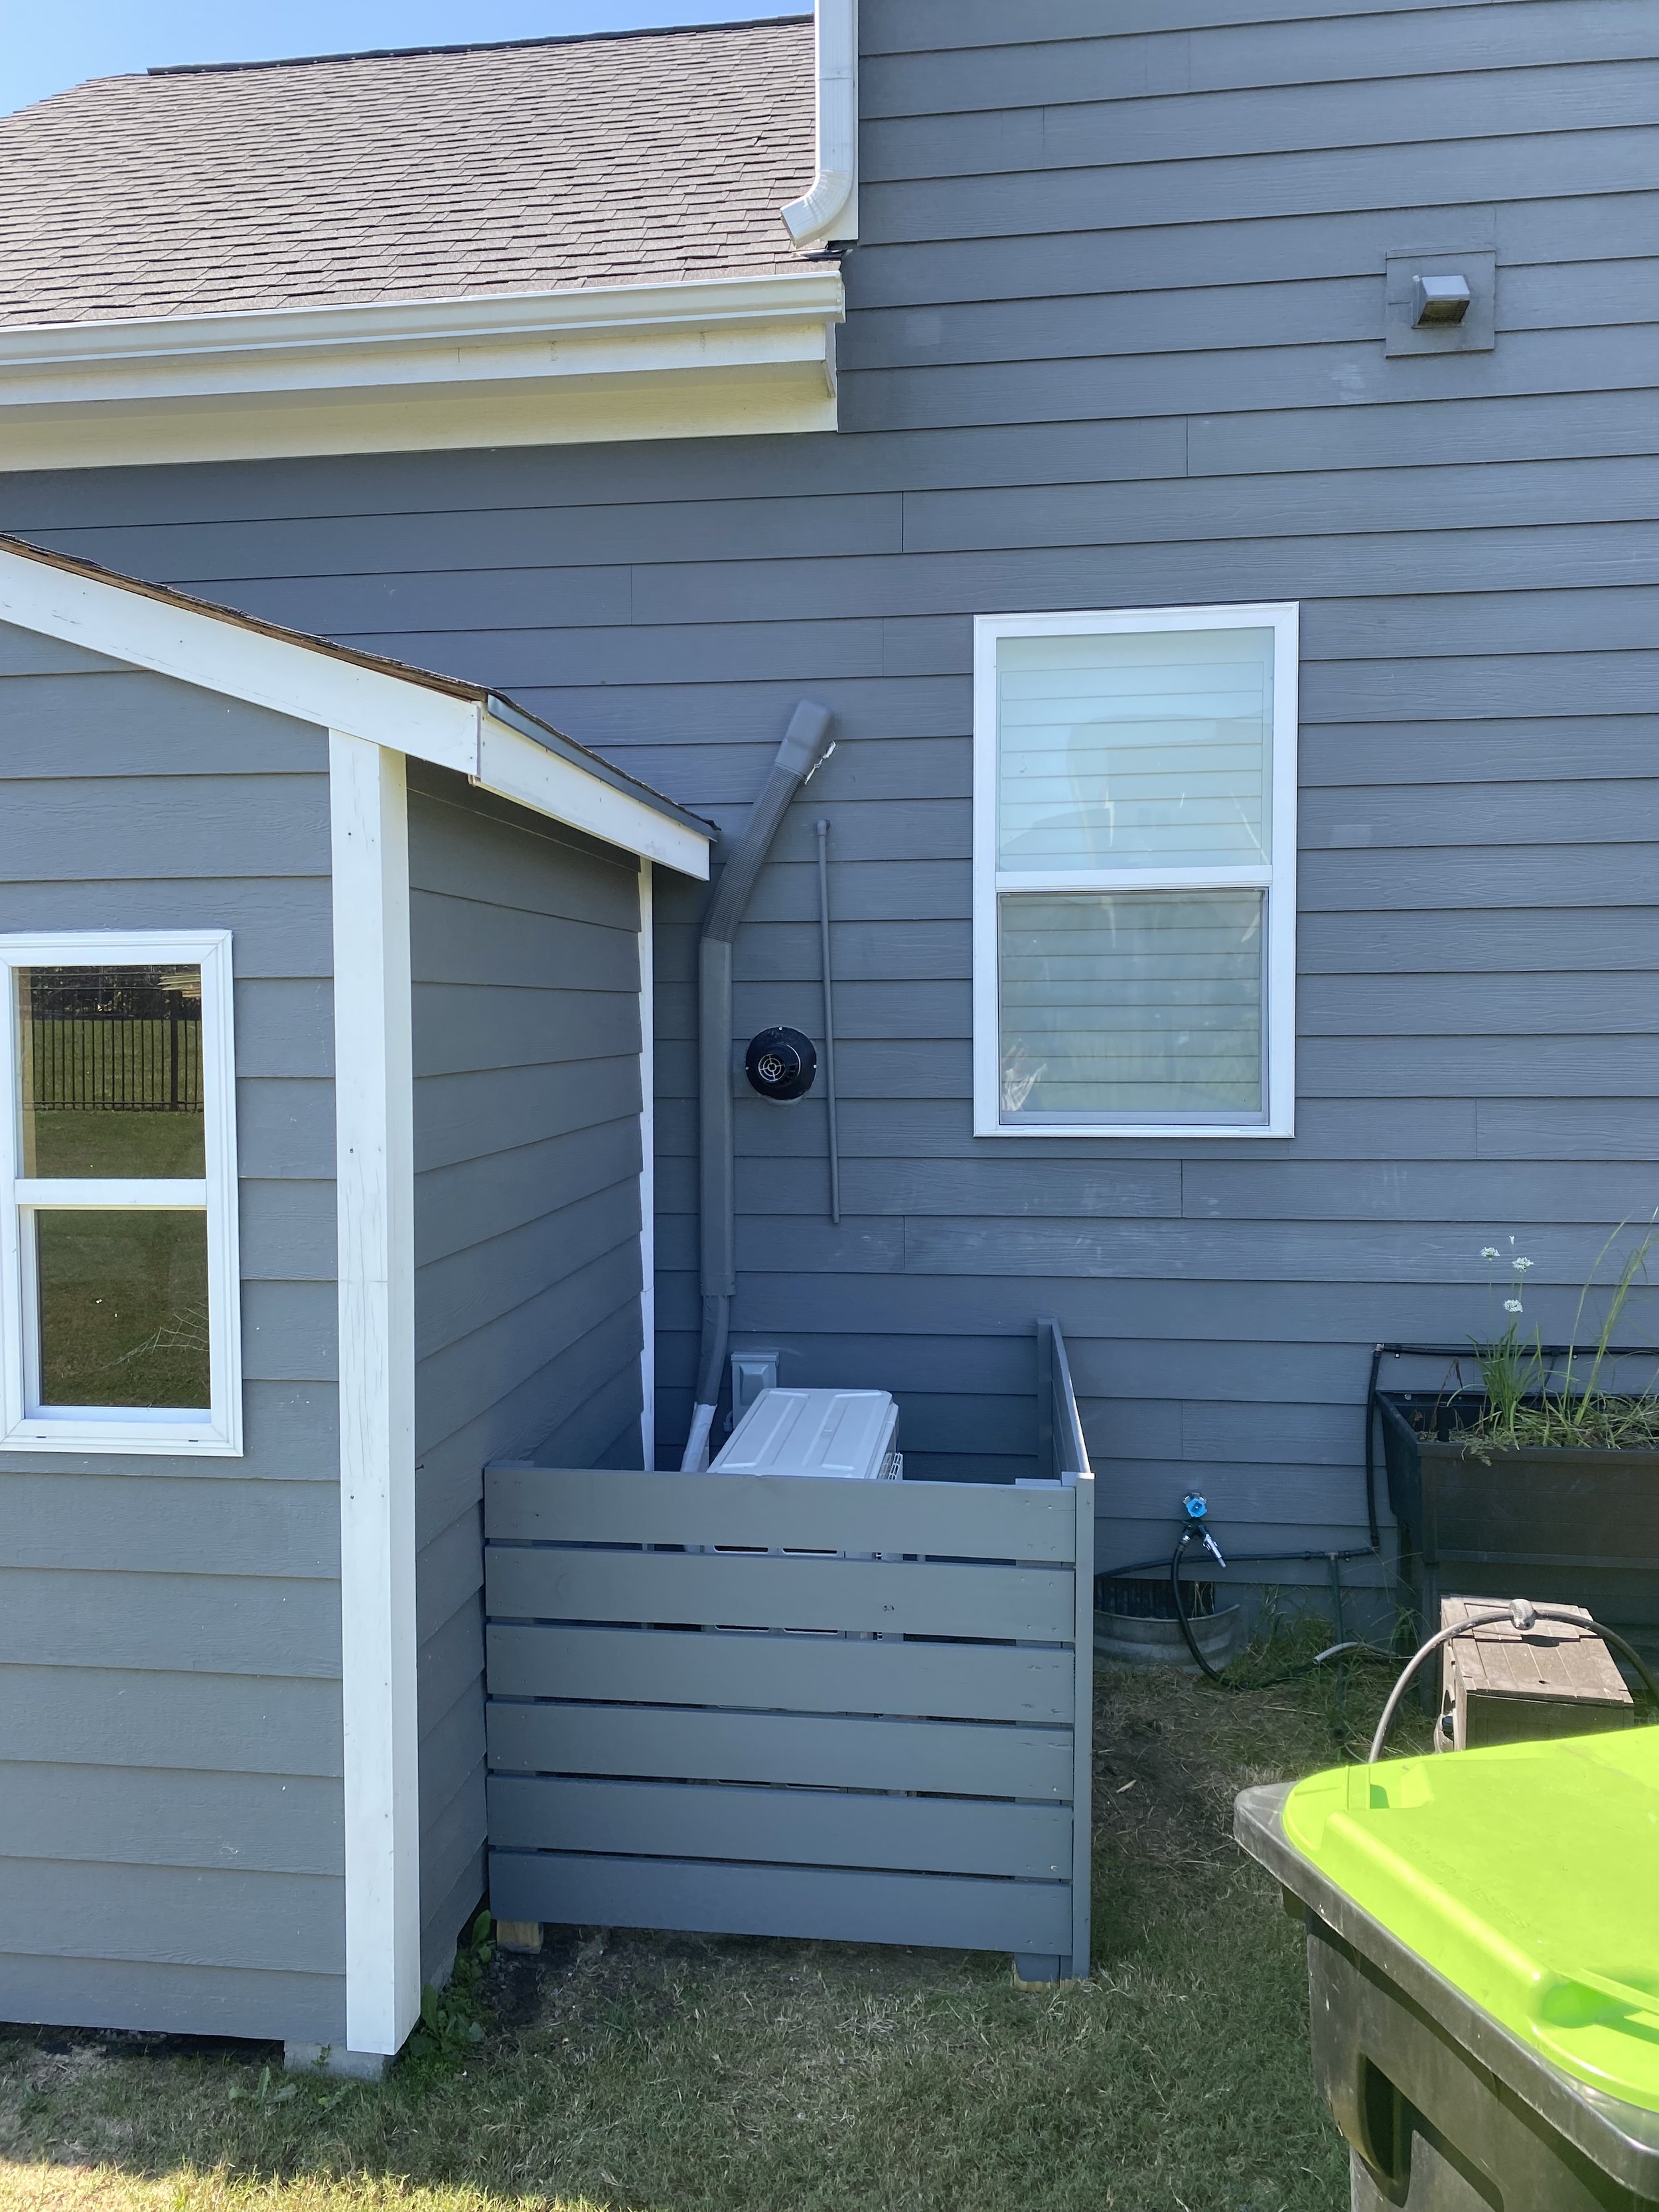
4. Outdoor Condenser Installation
The outdoor condenser unit was positioned on the new pad and connected to the line set. We added a custom-built wood enclosure to protect the unit while allowing full airflow and access for servicing.
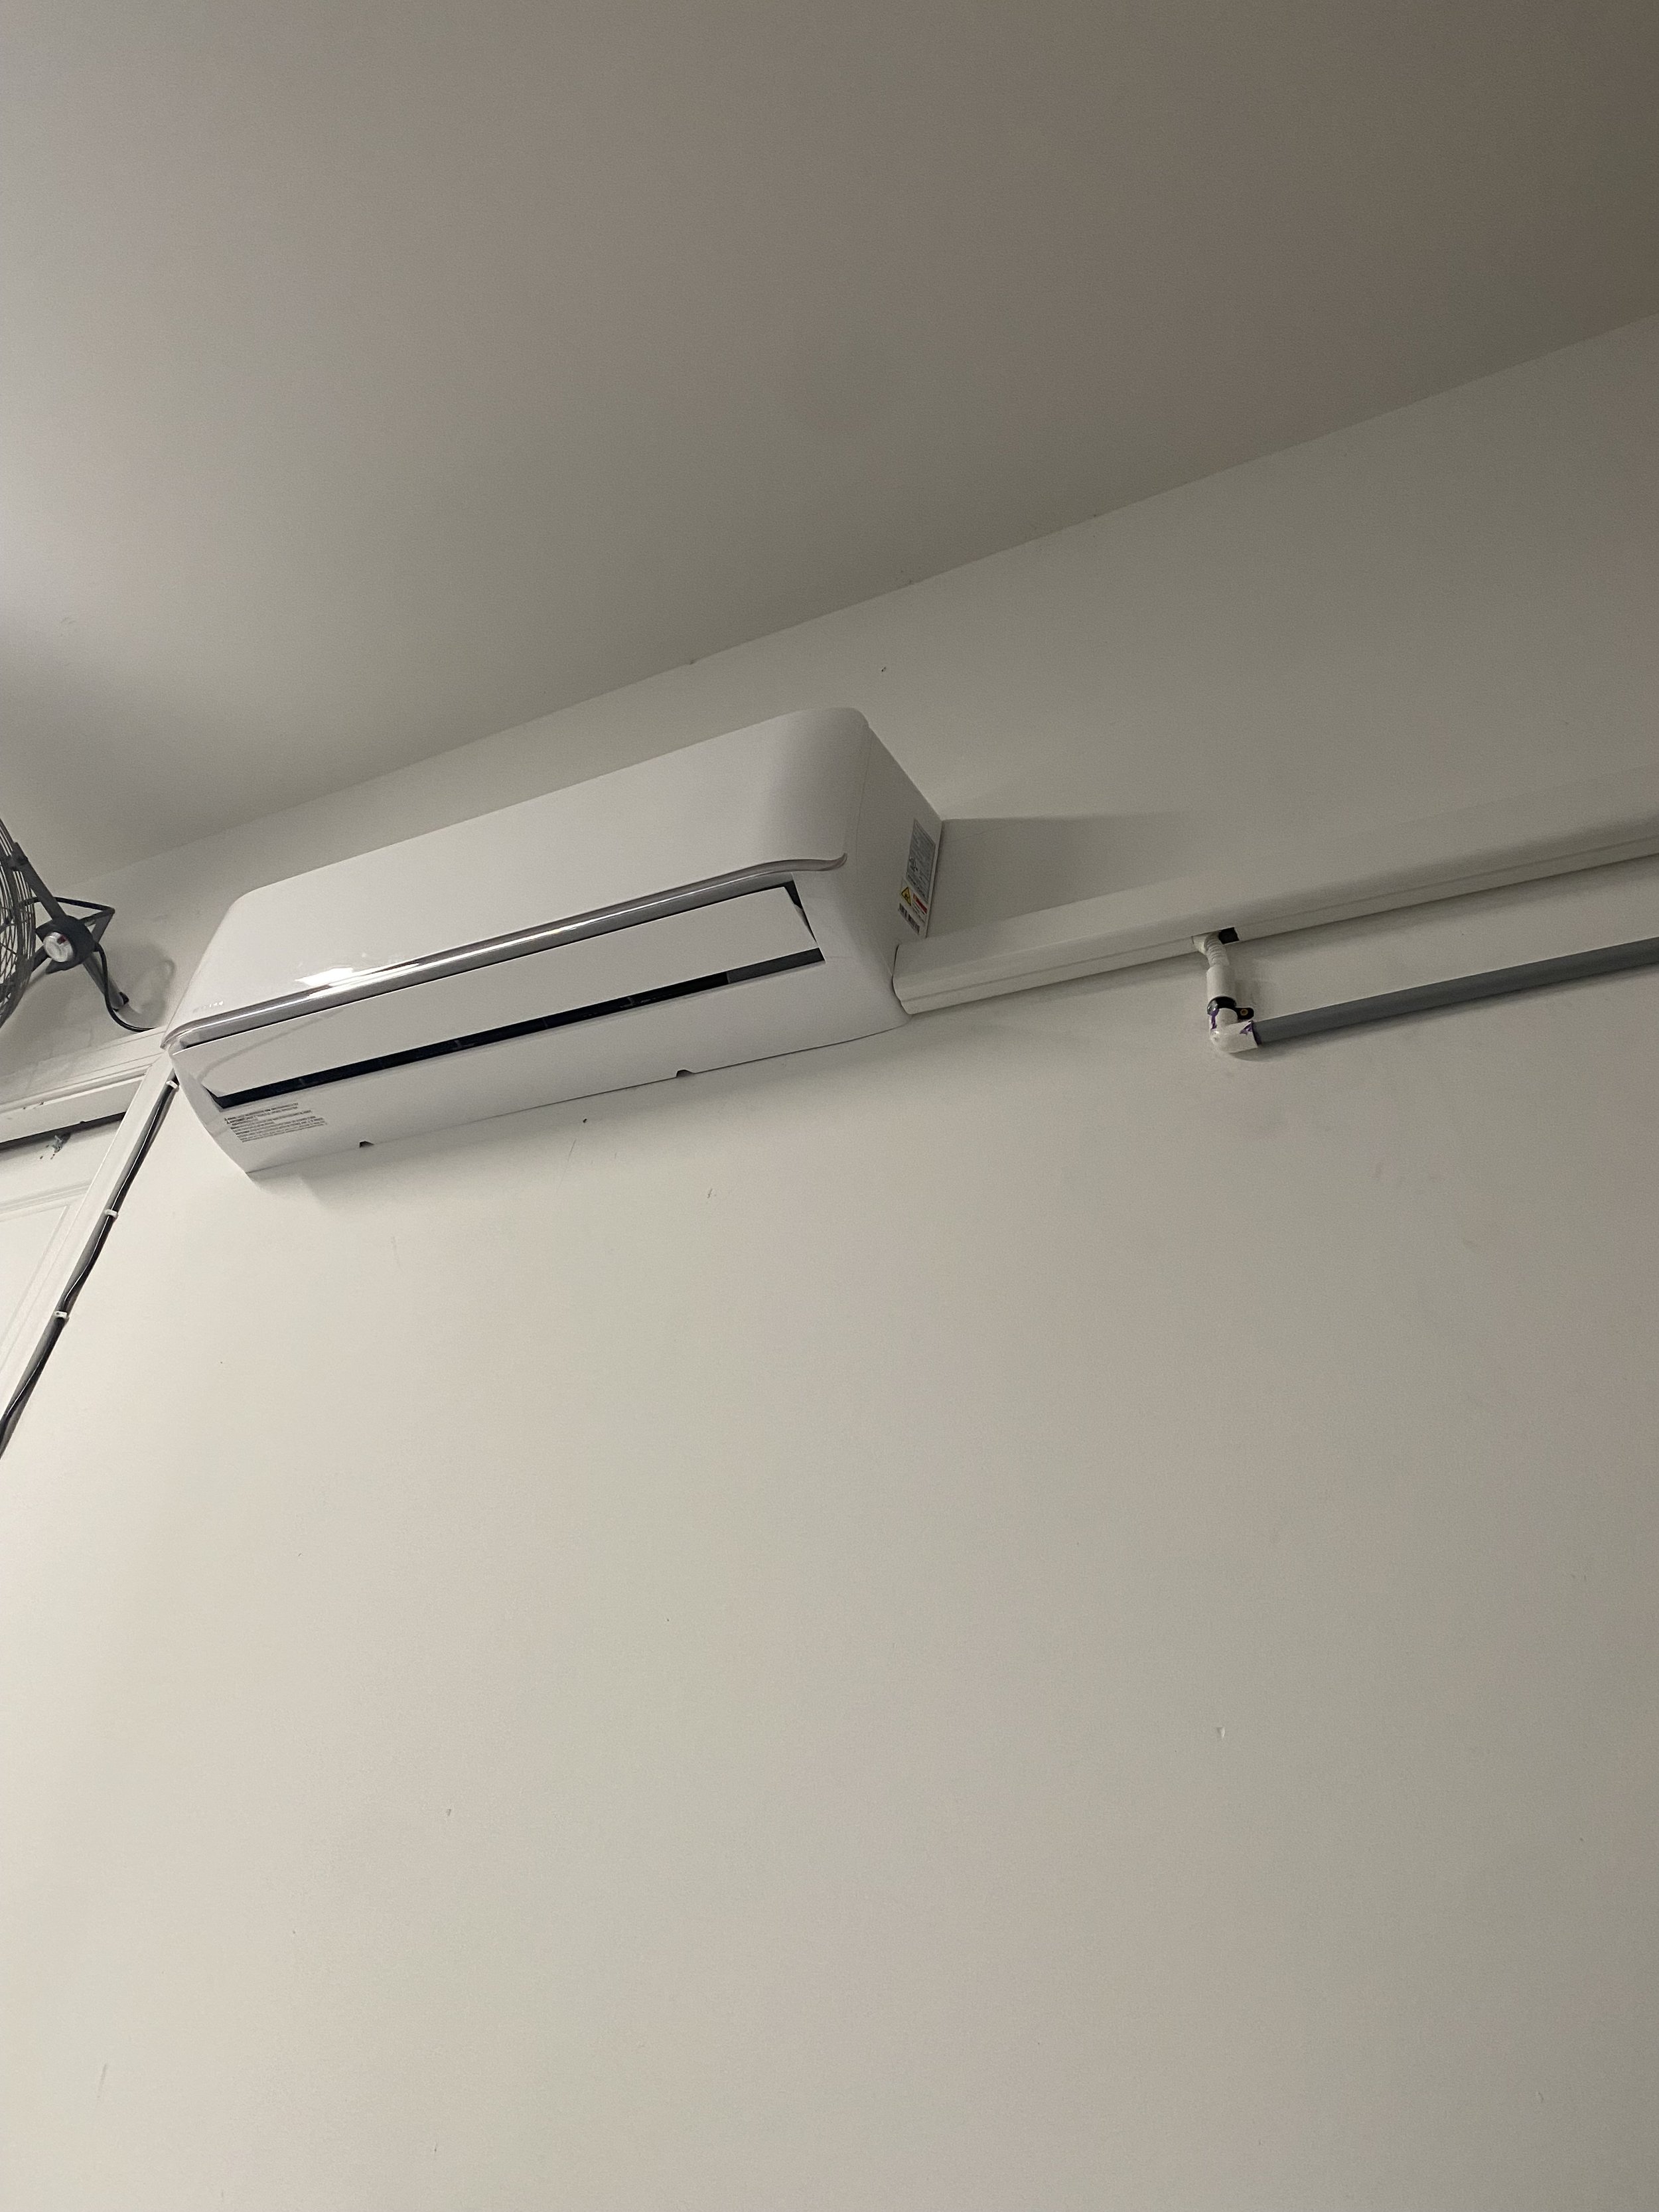
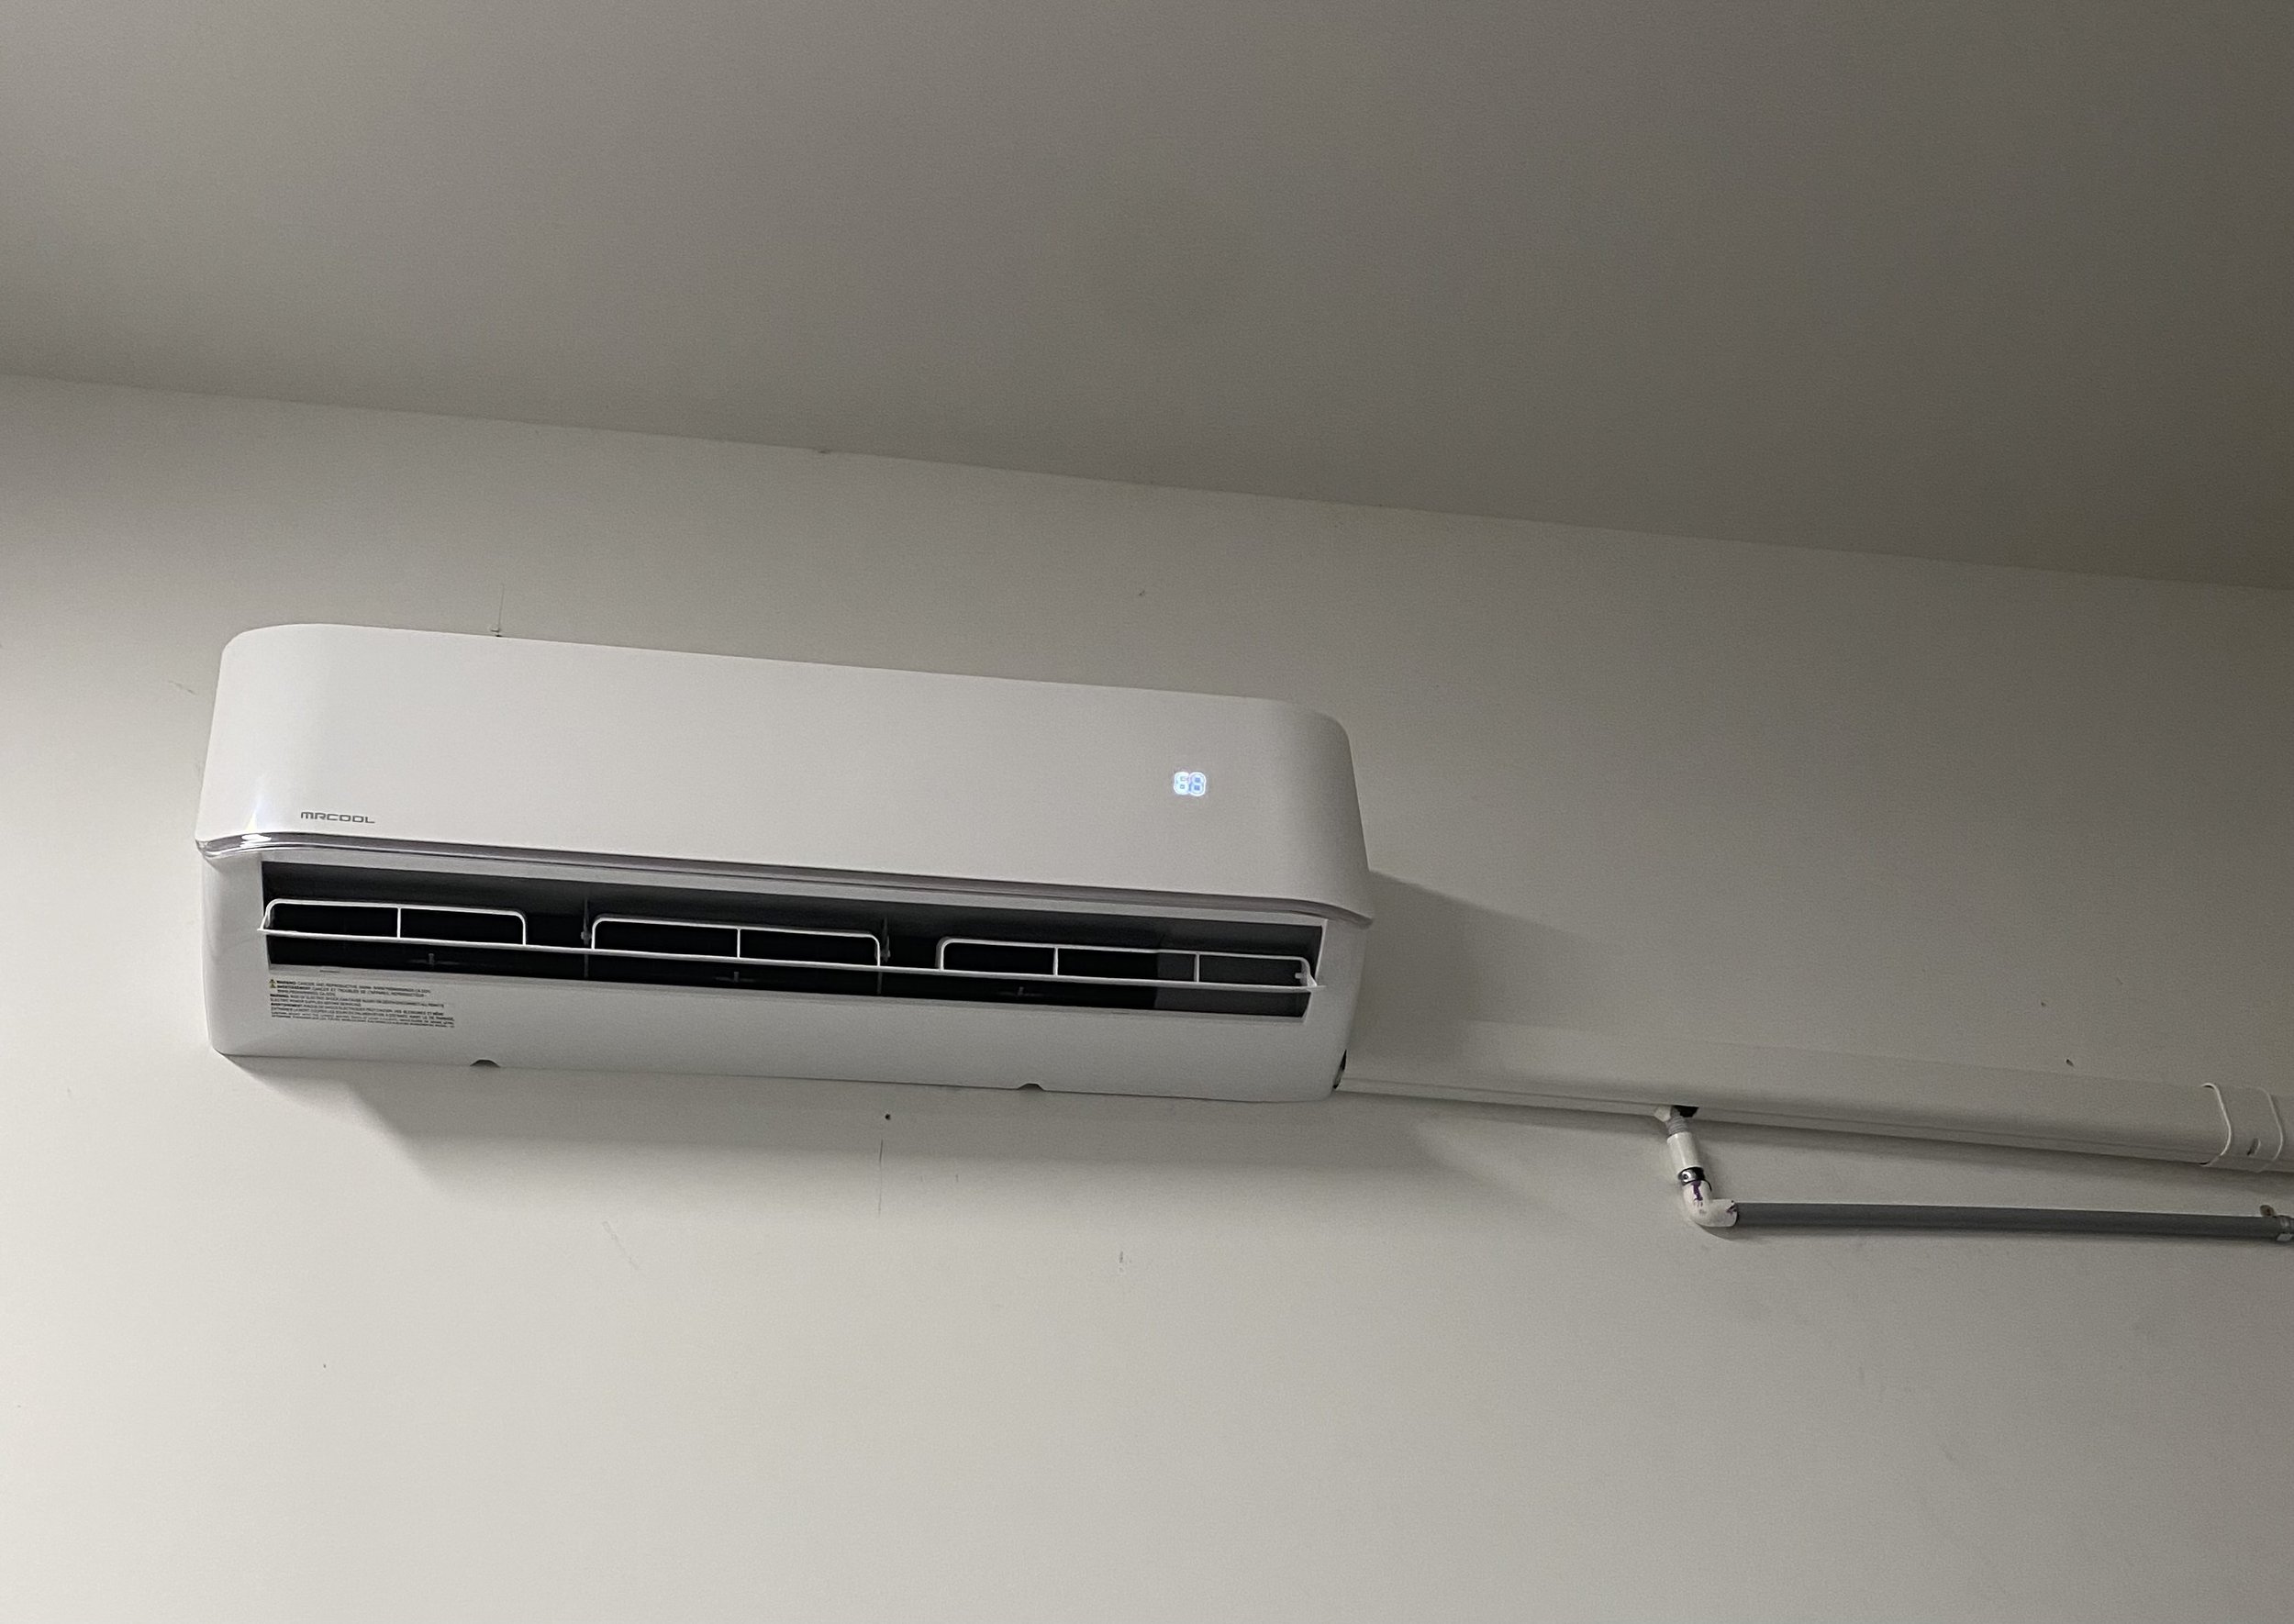
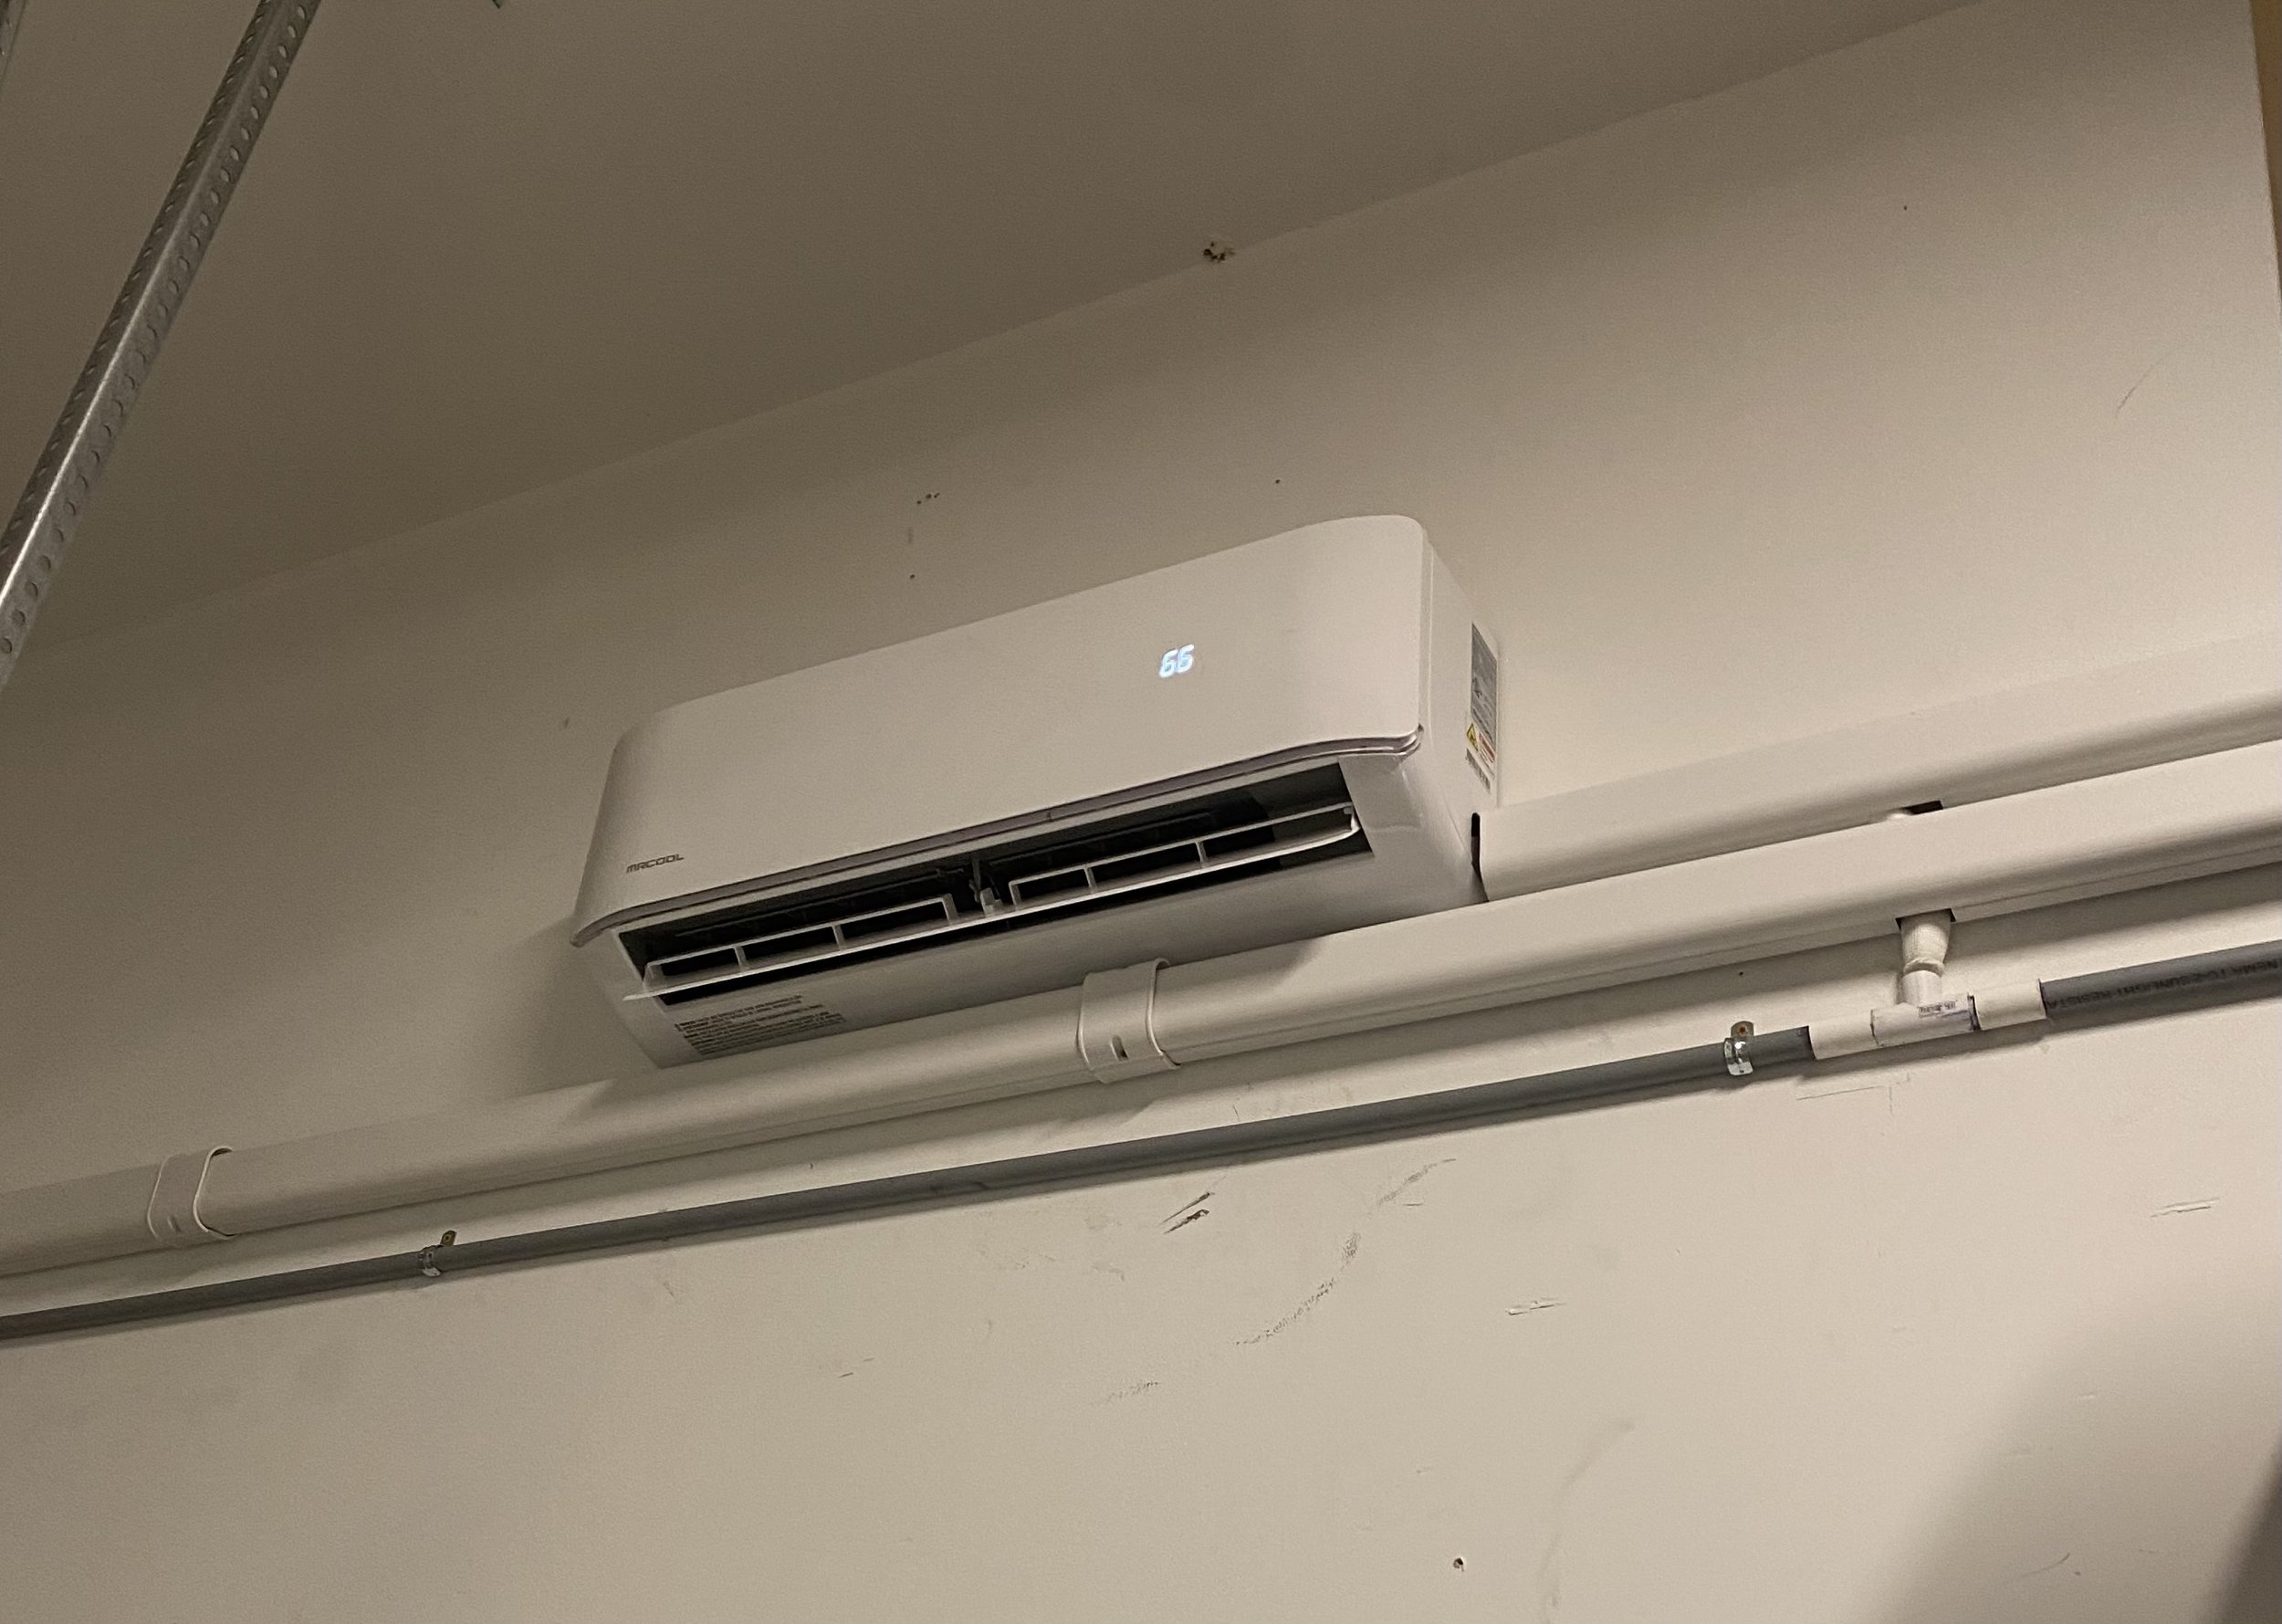
5. Indoor Air Handler Setup
Inside the garage, we mounted the air handler high on the wall for optimal air distribution. The compact unit blends seamlessly into the space and displays the set temperature discreetly on the faceplate.
6. Testing & Final Finish
After vacuuming the lines and verifying all connections, we powered up the system. The unit reached the set temp quickly and quietly—mission accomplished.
Why It Matters:
Adding heating and cooling to the garage turned it from a seasonal workspace into a year-round shop. Whether we’re building furniture, doing repairs, or just avoiding extreme temps, this upgrade made a huge difference.